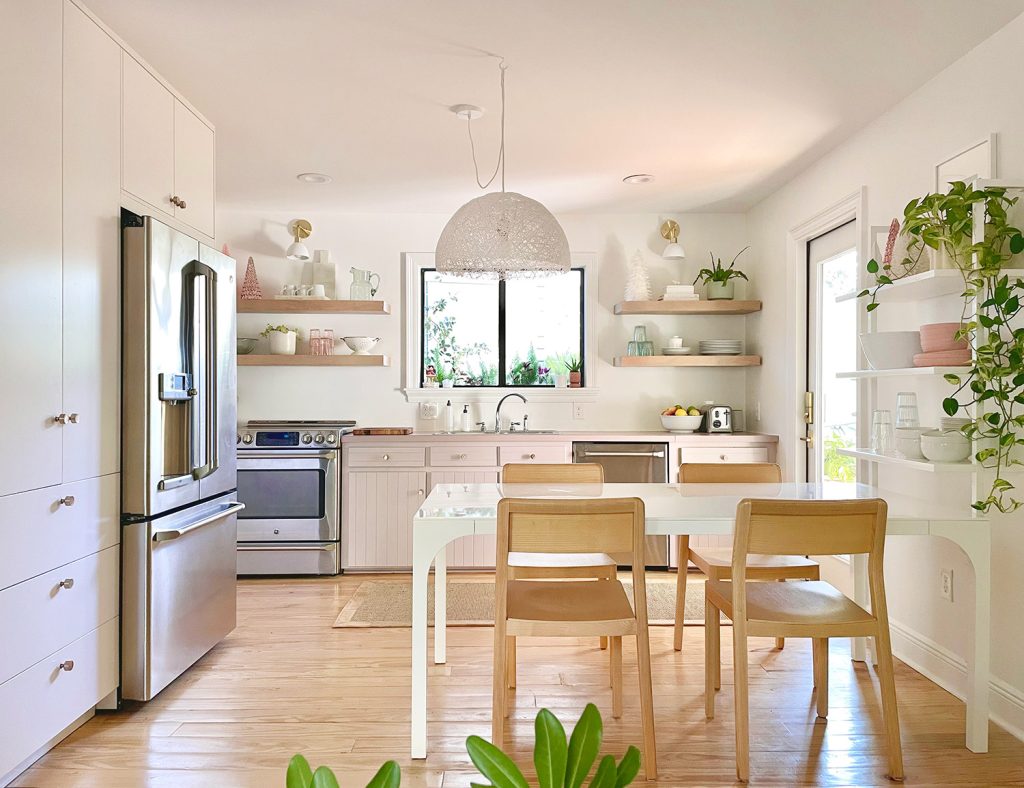
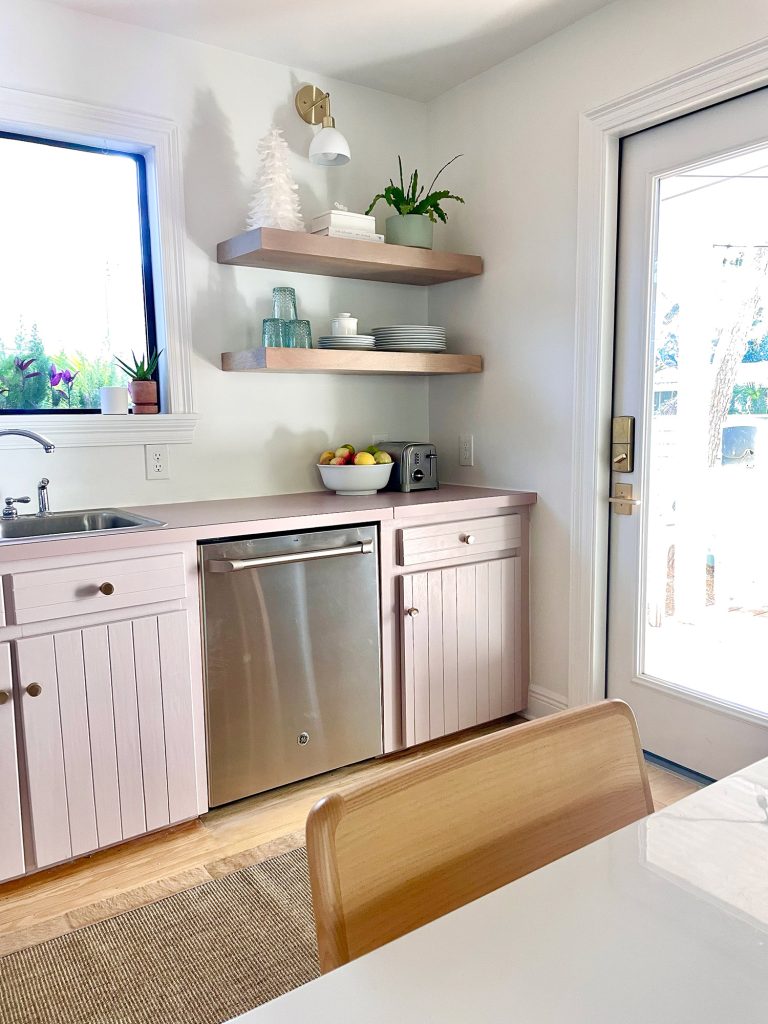
It’s wild to think that this is our second year of decorating this house for the holidays (what even is time?!) but first a ton of you were asking to see what happened to the kitchen side of the space once the new door went in. Our last post covered all the photos and angles of the new kitchen porch we created outside – just steps away from our cooking area inside. So let’s take a look at what went down inside. Here’s what the kitchen is looking like these days:
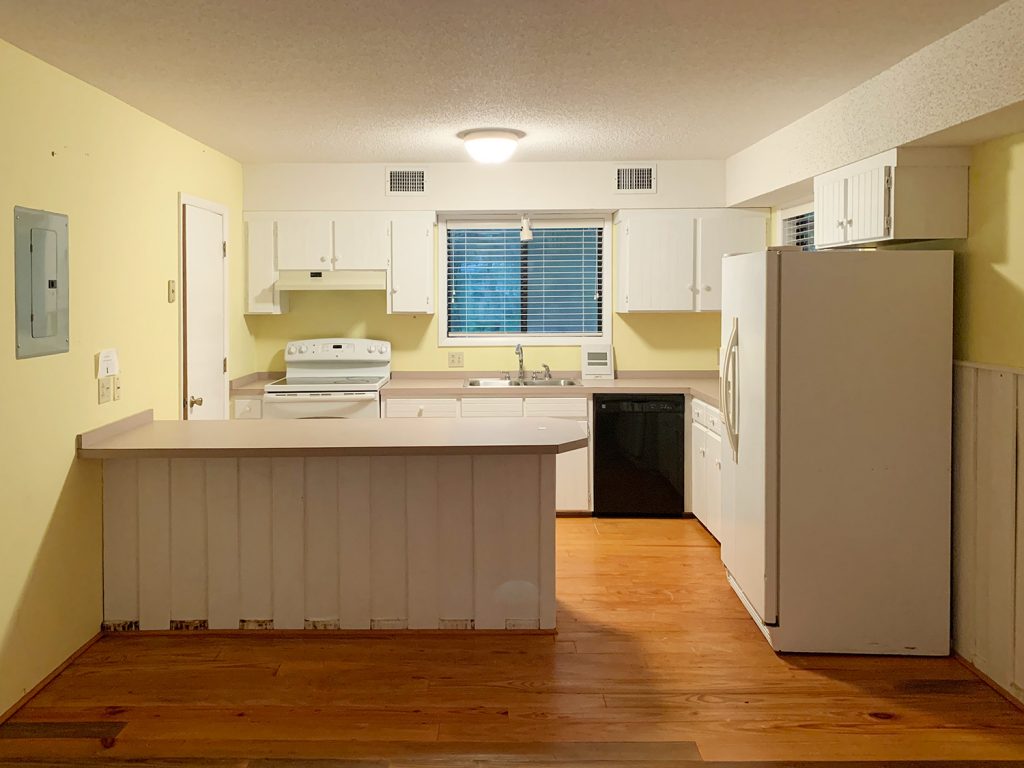
It’s always fun to rewind, so if we take a step back in time, this is the kitchen as it looked when we bought this house in Feb of 2020:
We talked about our initial updates to the room waaaaay back in this post from May of 2020 (before we moved in). And this one is a more recent kitchen update that details the thing about our kitchen that nobody could understand when we moved in (spoiler alert, it was “why didn’t you just rip out the kitchen and redo it before moving in?!”). So you can read exactly why right here in that post.
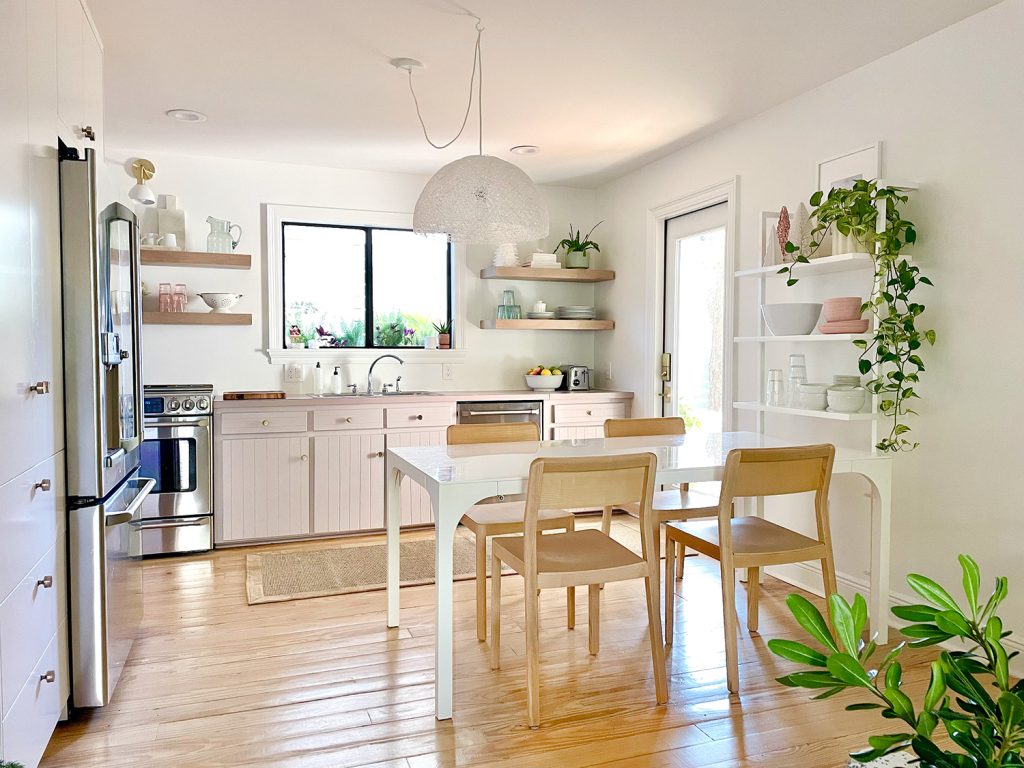
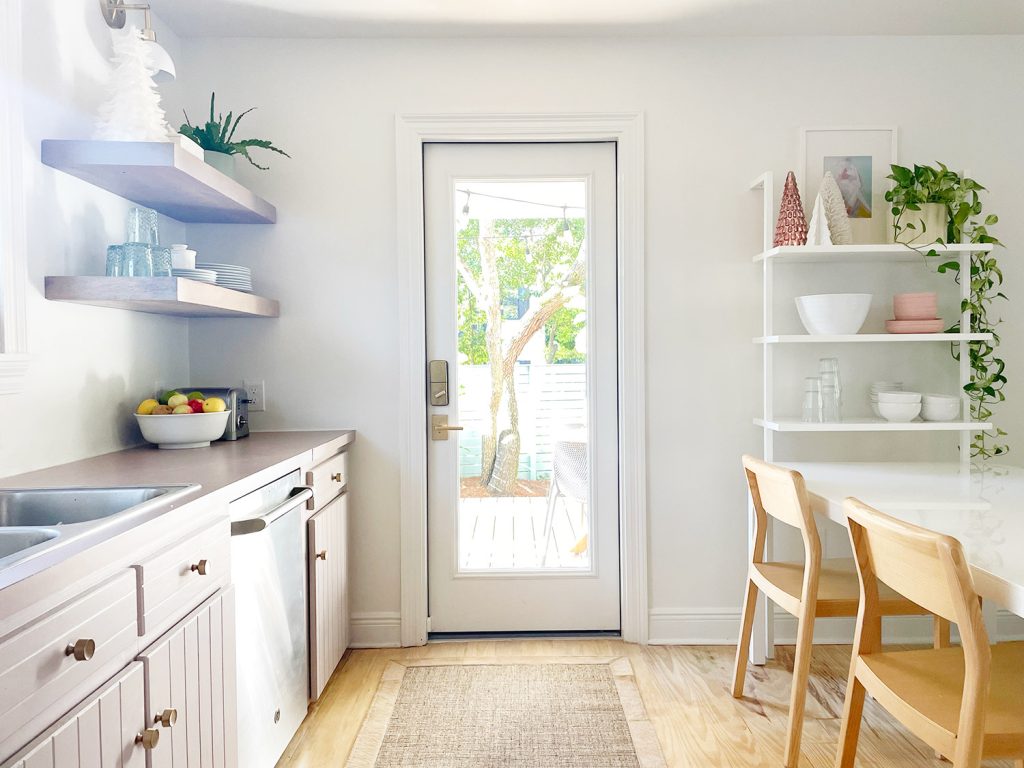
And here we have a somewhat similar shot of the room today. When I say that door changed SO MUCH about how we use this kitchen, I really can’t underscore it enough. John grills dinner (chicken, shrimp, burgers, even PIZZA!) about 4 nights a week. Maybe even five. Our brother-in-law even surprised him with fancy steaks delivered to the house for his Christmas present and the excitement in John’s eyes was palpable. I think the gift of steaks even a year ago would be sort of a head-scratcher for us (foodies, we are not) but this man is ALL IN on the grill. It’s his new favorite tool (ok, tied with his mitre saw). Also I’m determined to bake chocolate chip cookies on the grill, so stay tuned for that experiment…
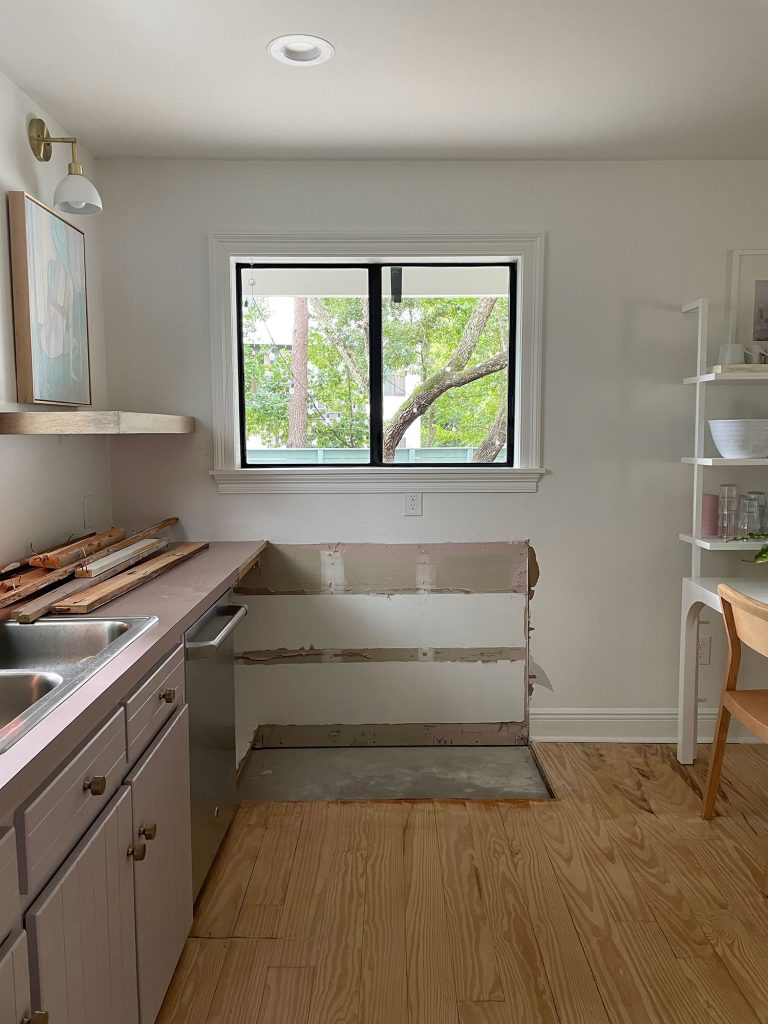
Here’s a shot of how the room looked before the door went in. The cabinets had that shorter run under the window, but thanks to John’s mathy brain we realized we’d only lose about 18″ of cabinet space after we factored in the space that we gained from having free and easy access to the previously blocked corner cabinet.
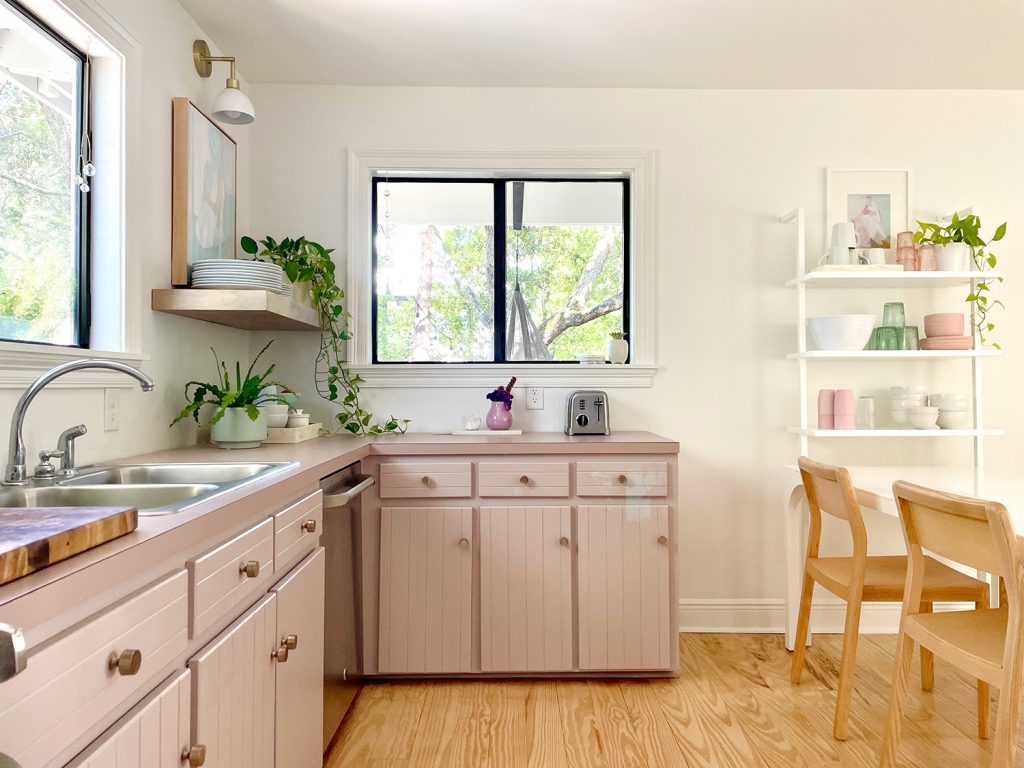
See that space to the right of the dishwasher? That became a freed up nice wide lower cabinet with a drawer above it (26″ wide)- so we gained that. But we lost the little peninsula of cabinets that used to be blocking it (which was 44″ wide, hence J’s calculation that we lost 18″ overall).
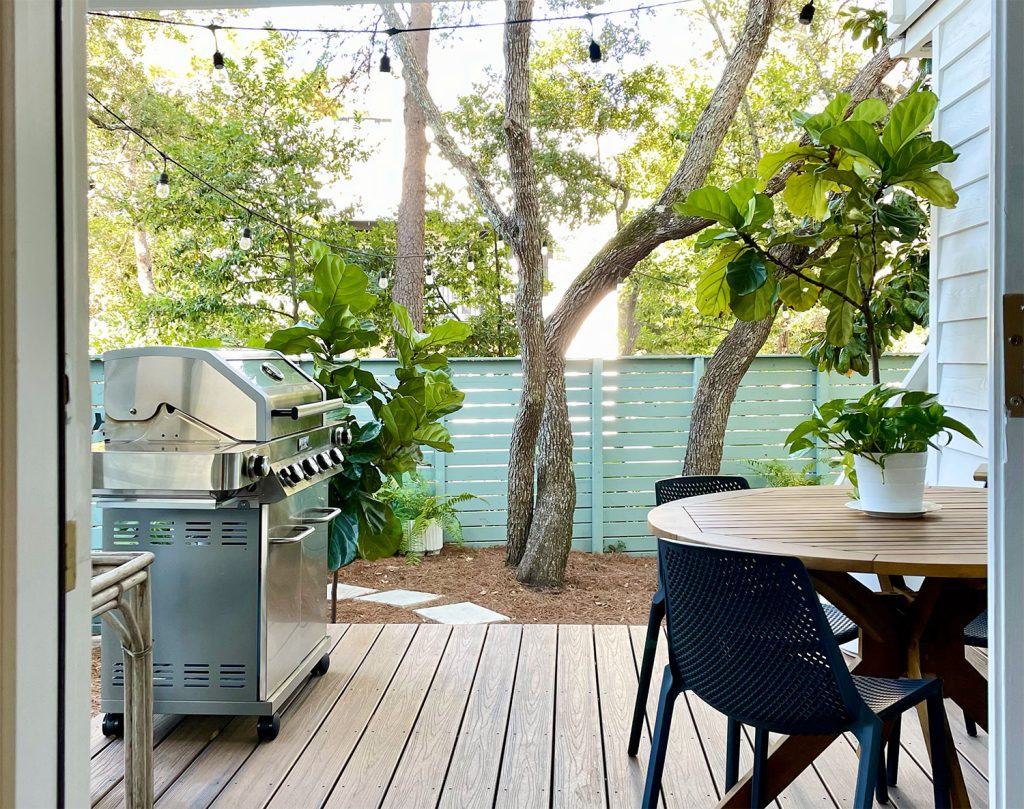
The good news is we gained THIS! It might be a stretch to call it a full-service outdoor kitchen, but it’s definitely a super useful extension of the kitchen for easy grilling and more covered seating among other things (like a faster way to carry in the groceries).
We also added an entire pantry to this kitchen, so we’ve never had so much storage. More on that here, but it was the other thing that changed everything about how we use this space.
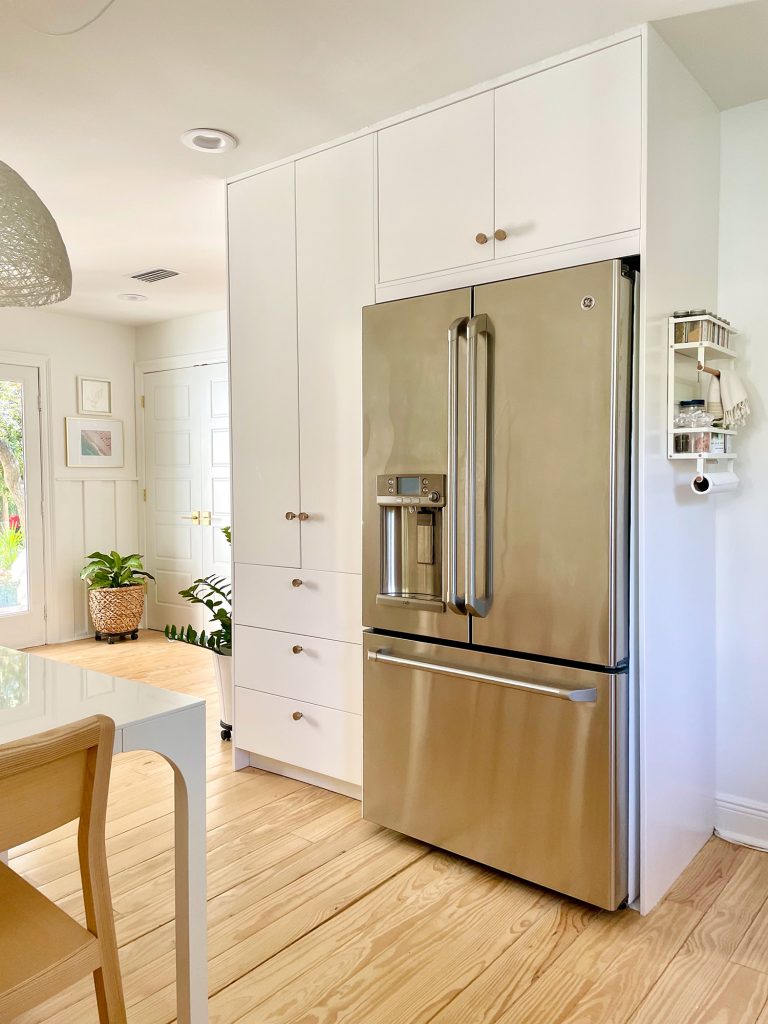
So between this big storage-fest (3 new drawers + 6 new shelves including the cabinet over the fridge!) and gaining access to that previously blocked corner cabinet & drawer, we’re sitting pretty when it comes to storage in here.
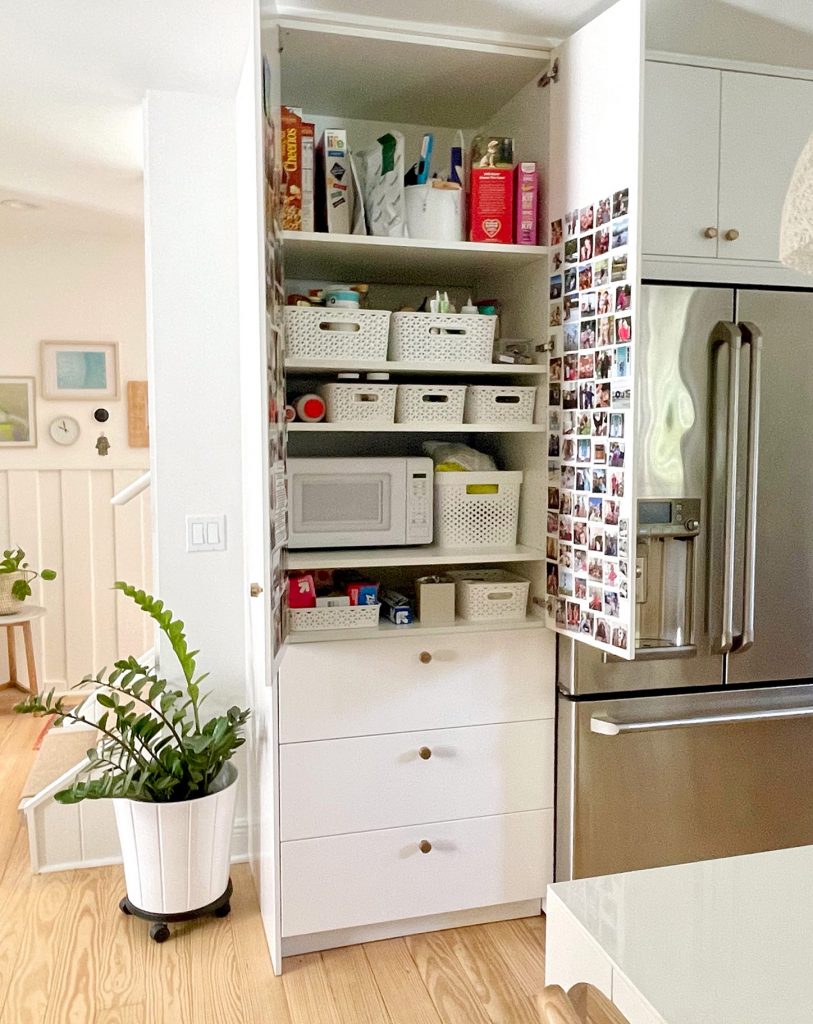
In fact that drawer by the new door is completely empty. I’ve been debating what I should use it for, but it actually feels really nice to have room to spare. That was definitely a factor in our decision to forgo upper cabinets and just have two rows of thick wood shelves on the back wall of the kitchen for now (with our cute little brass and white sconces up there). Cabinets would allow us to shove a lot more stuff into this kitchen… but the goal of downsizing and simplifying = sort of the opposite of trying to jam stuff you don’t really need into a smaller space. We certainly could upgrade to true upper cabinets down the line if we find ourselves thirsty for more storage space, but for now the idea of a wall full of tile with those chunky wood floating shelves sounds great and functions well for us.
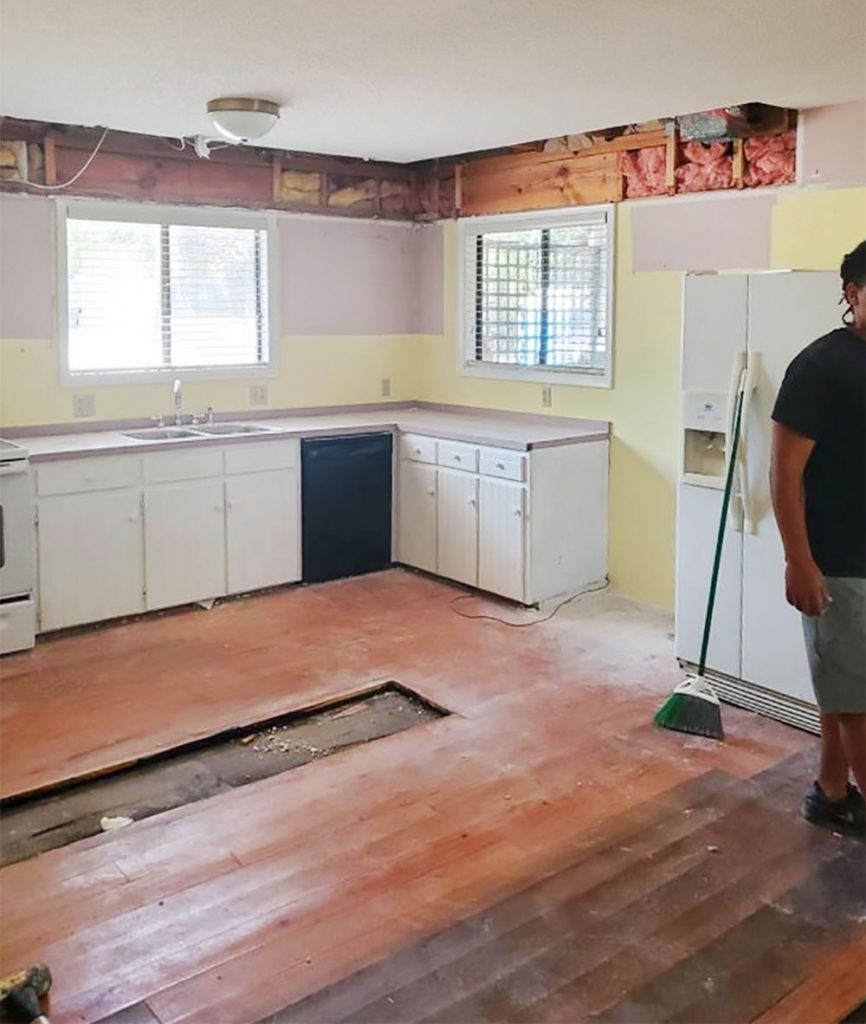
As for how we removed that cabinet to free up space to add the door, the answer is: as carefully as possible, mostly with a hammer and a prybar. We just slowly demo’ed out the old stuff, and saved the drawer and door fronts so we could create a drawer and door for the corner cabinet that we were exposing. There was also a chunk of flooring missing under the cabinets but we just have regular pine floors here, so it wasn’t hard to track down and we had the same pros who added the doors “feather them in” (which means you don’t just patch the floor in a rectangle shape, you cut the new boards all to different lengths so it’s not an obvious patch job).
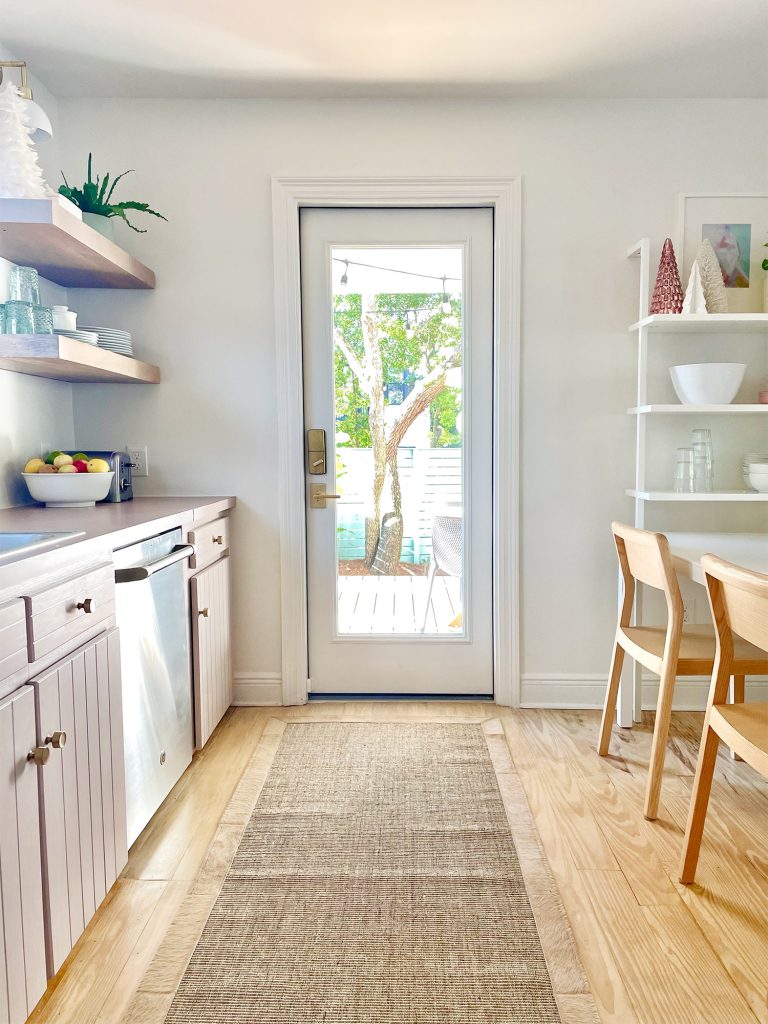
And I just used the same Bona floor finish & sealer we used back when we had the floors refinished to match them. Worked like a charm! I just noticed the runner isn’t centered on the door in this picture, but that feels like real life. See how you can’t really tell where the old floors end and the new ones begin?
Our Hail Mary plan if refinishing the new pine didn’t match perfectly was going to just be to save the flooring in the area of our bedroom where we’re planning to add the ensuite bathroom and use that to patch this spot later (so that’s a good backup plan for anyone if you have a spot in your house that has existing wood that matches but might be converted to tile later down the road).
And as for how the cabinet door front and drawer front came out that we cobbled together from the remaining parts of the cabinets that we demo’ed out… we are SO PLEASED. You truly cannot see a seam where we joined two drawer fronts and two doors to create one wider one of each for this end cabinet (thanks to wood filler, sanding, more wood filler, more sanding, primer and paint).
We actually ordered new cabinets for this back wall which are currently sitting in our bedroom (they arrived right before Burger died and we just felt too tired and sad to take the whole kitchen apart (since new cabinets will lead to no sink or dishwasher for a while since we’re also adding new counter and they take a few weeks to template after the cabinets go in, so the room can’t usually come back together very quickly). But the plan is to maybe tackle that in early 2022 if we have it in us. P.S. Our new cabinet plan is to paint them this exact color because we are very attached, so don’t worry, the mauve isn’t going anywhere.
Oh and in the photo above you can see the seam of the front piece of the laminate counter where we had to extend it once we exposed that corner cabinet. It’s really the only discernible clue that this kitchen was ever anything different – but once we replace the cabinets and counters and tile that back wall I think it’ll feel like it has always been this way.
Ok, so now, onto the holiday decor! I’d describe Year Two in this house for the holidays as a more minimal Christmas but still a festive one.
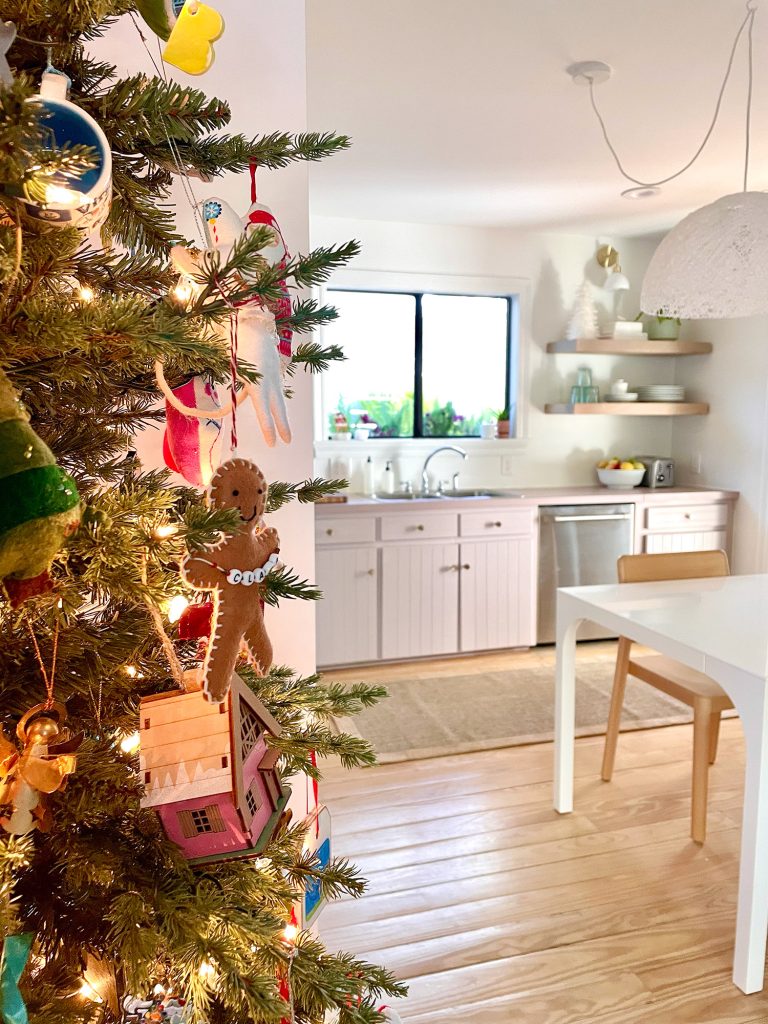
Last year we got a mini real tree for upstairs in the family room as well as putting up our skinny faker (that’s what I affectionately call this tree right here) in the bedroom. But this year we had a more central spot for our main tree… right in the nook our new pantry created in the kitchen, which can be enjoyed a ton of the time. So I think it eliminated our urge to add a secondary little tree upstairs (you can see all the photos of how we decorated the house last year in this post).

Another thing about our new spot for the tree, is that it feels like it gives us “more bang for the buck” from outside. I mean how perfect is that?! Couldn’t have planned it better! And we literally didn’t – we just pushed the tree into the pantry corner nook just to see if it was weird or cute in a spur of the moment urge & were both like… “UM IT IS GREAT!”
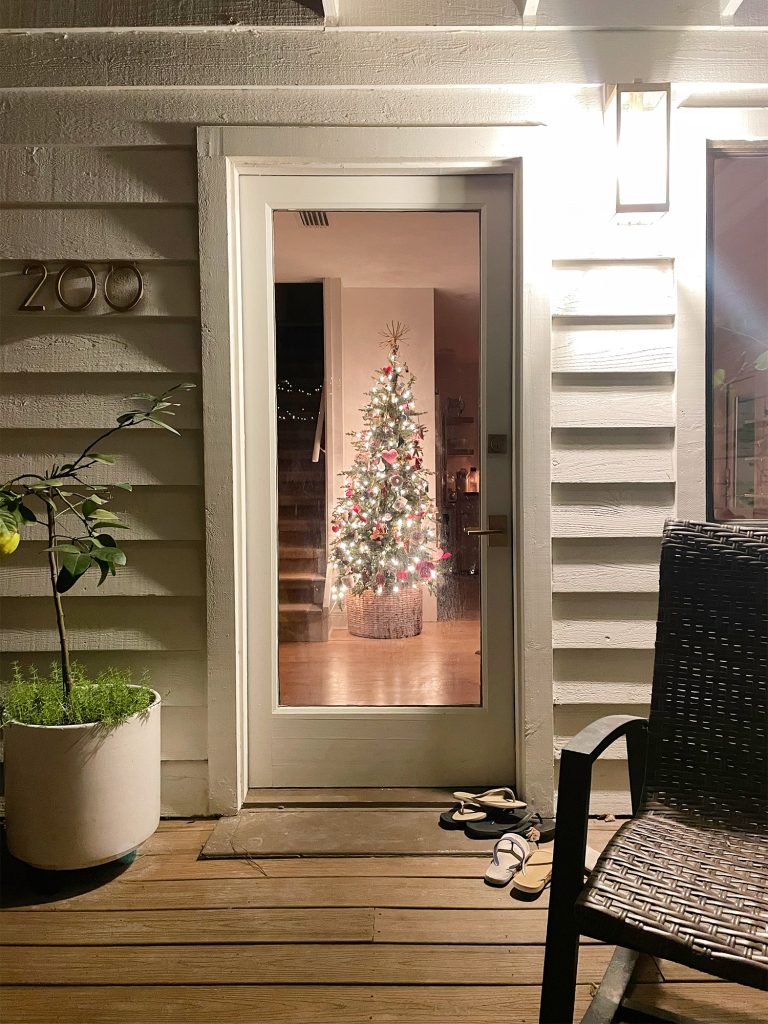
The juxtaposition of a pile of flip flops and a lemon tree outside and a glowing Christmas tree inside makes me laugh.
I realized I didn’t show you how the other side of the tree looks, but you can see from this pic of the kids starting to decorate it that it doesn’t really get in the way of anything. We have a big potted plant here the rest of the year, so the only real difference is that the tree is taller. But nobody was walking into that corner nook before, so it’s all good function-wise.

If you’re one of those people who likes to “walk” through a space to get your bearings, you can also get a feel for the whole kitchen in this video. I LOVE how you can catch a glimpse out at the kitchen porch, and the ending makes me laugh. Feels very Florida.
Note: You can also watch this video on YouTube
Ok, but back to our tree. We’re huge fans of the whole collected-over-time mishmash of sentimental and meaningful and handmade-by-the-kids ornaments. Gone are the days of “theme trees” or anything that’s coordinated and matching – we all jam ornaments on basically every branch and admire the outcome every time. I know it’s not for everyone, but it sure makes us happy.
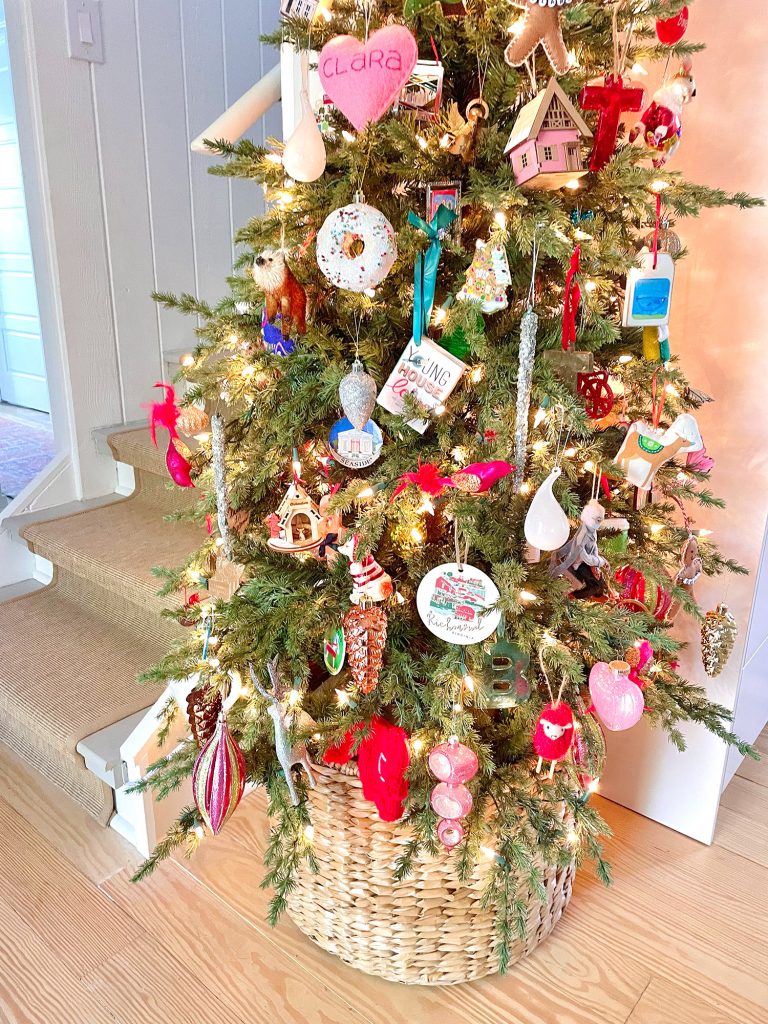
The kids put their stuffed animal “Burger” here the first night that we put up the tree and I cried real tears. We’d give anything to have him back. Feels so sad to have Christmas without him, and our tree is covered with Burger ornaments too. He lives on in our hearts for sure.

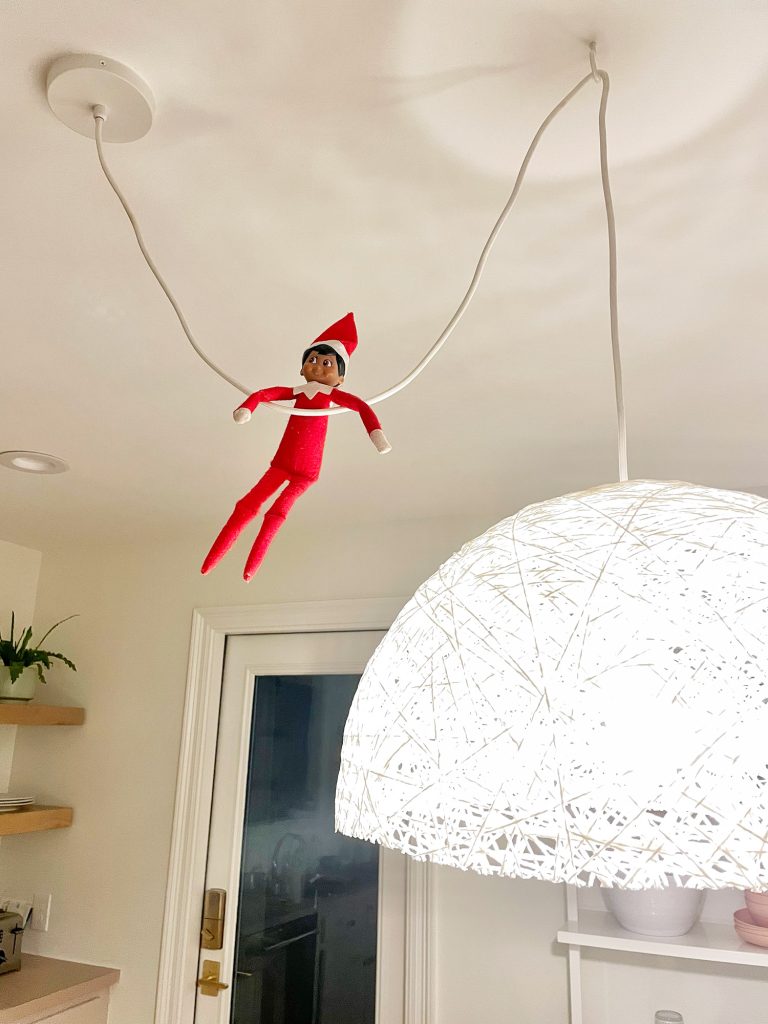
And then there’s Raychard (yes, his name is Raychard, not Richard). He was named by our daughter back when she was like three or maybe even two? She’s 11 now, so he has been with us for a while. He’s always getting into trouble…
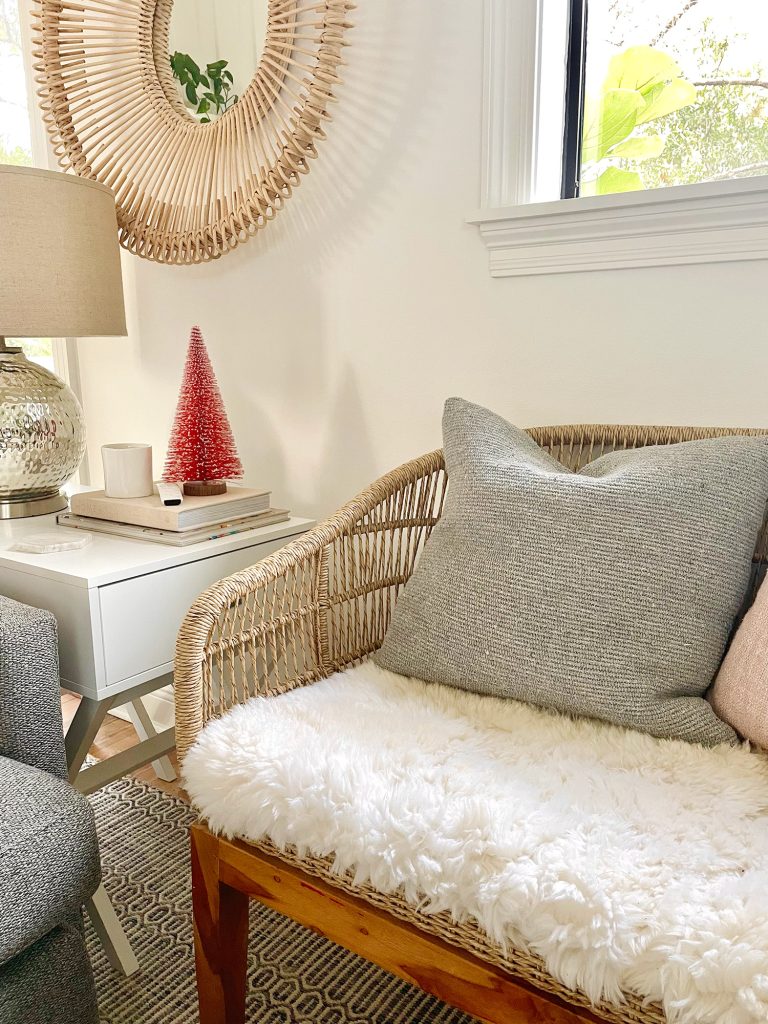
Upstairs, the key word is minimal I think this year. Ha! I just put out a tray of ornaments and some small bottle brush trees and called it good. Oh but notice how there is a sort of folded faux sheepskin on that woven bench in this photo.
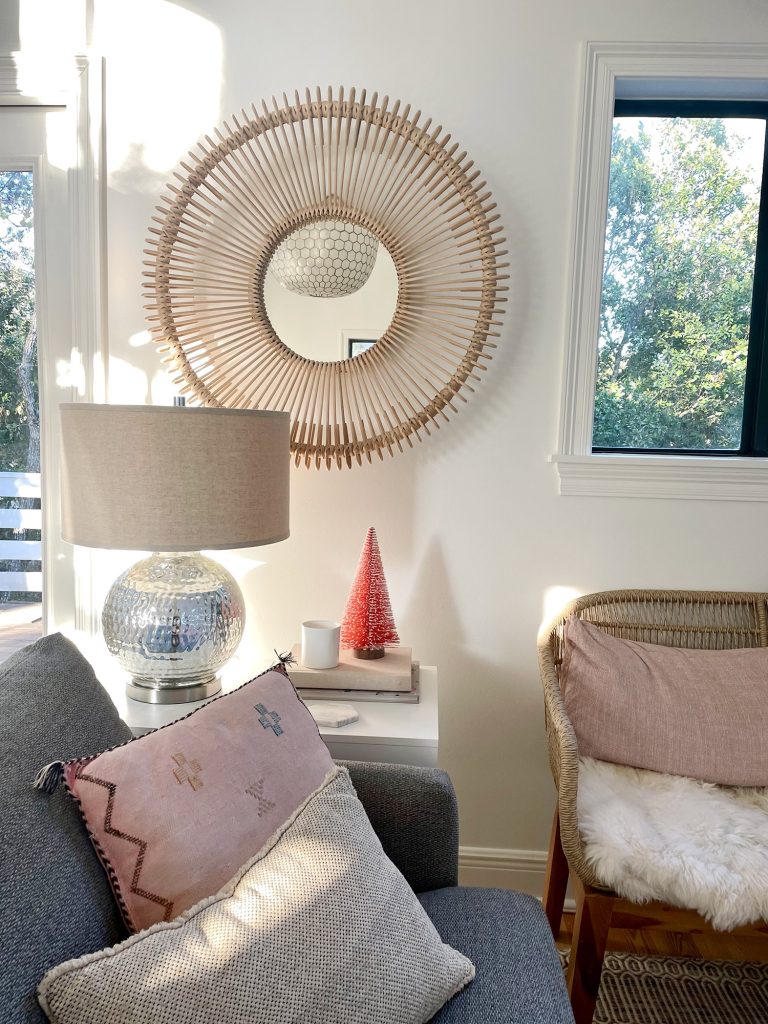
There were two of them sort of flopped over and placed on the bench to make it cozy but the kids basically juggled them every day so they were never left the same way they were found, if you know what I mean. So we finally made a legit “upholstered” cushion that cannot be thrown across the room or rolled up into a ball and IT FEELS SO GOOD.
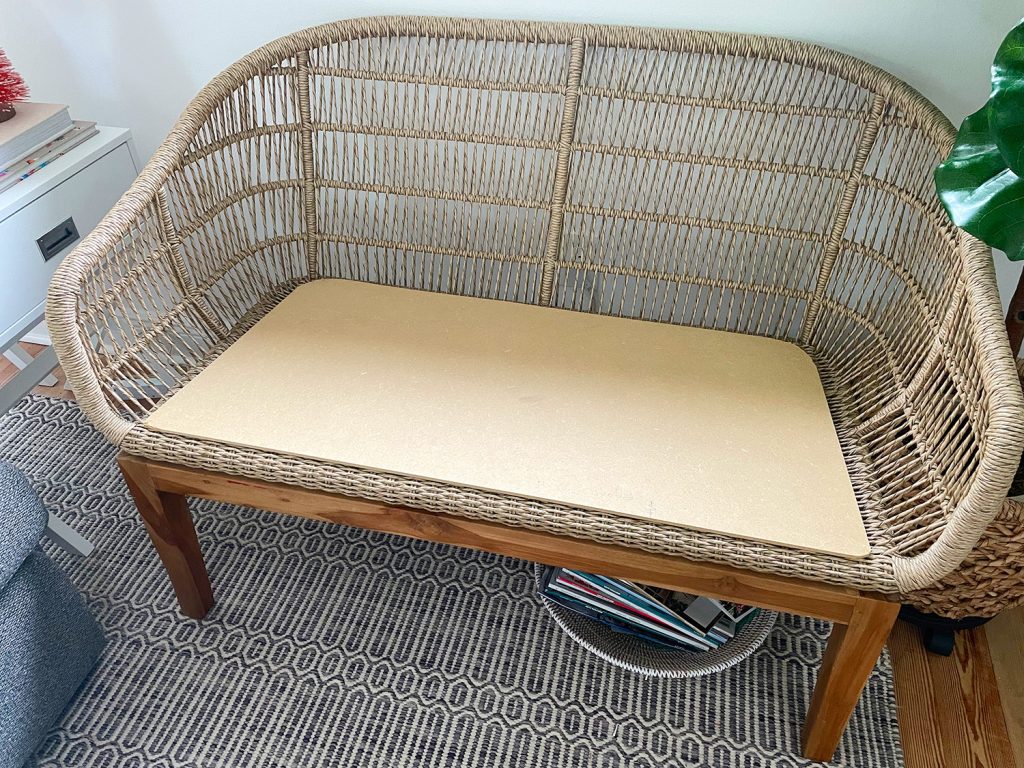
All it took was cutting a thin piece of MDF into the shape of the bench seat and then stapling a faux sheepskin around the edges with my manual staple gun (here is a similar faux sheepskin).
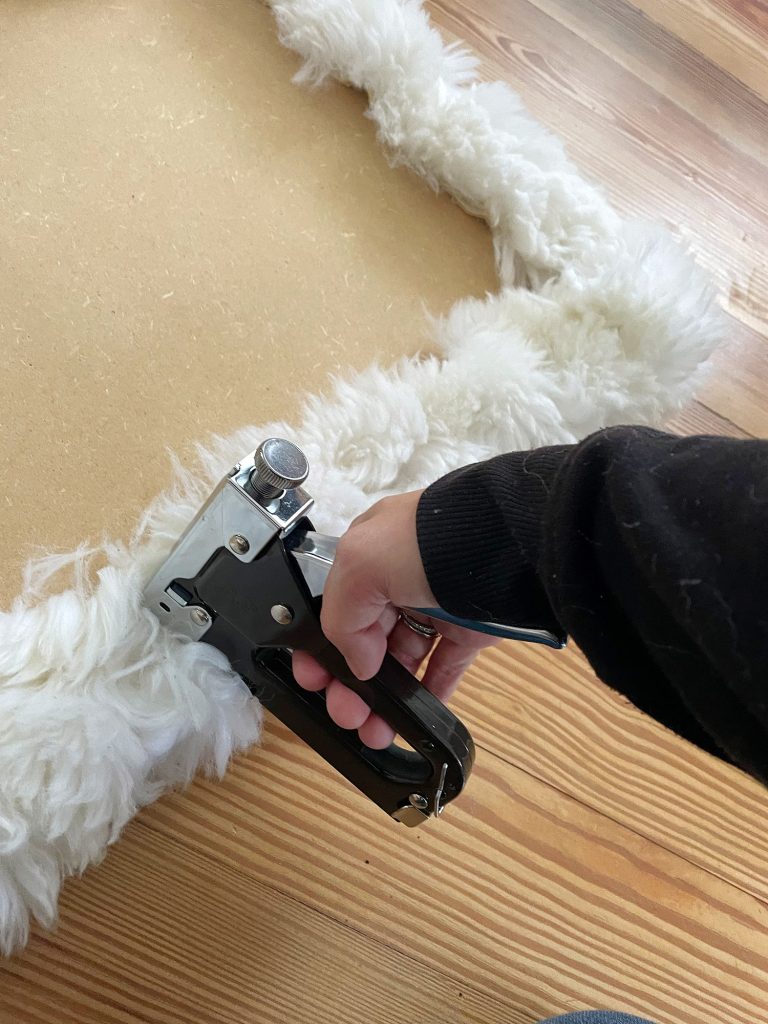
I think the whole thing took us like 12 minutes and I used to spend 12 minutes every few days wrangling the faux sheepskins that were no longer nicely folded on the bench seat, so…. COMPLETE AND TOTAL LIFE HACK.
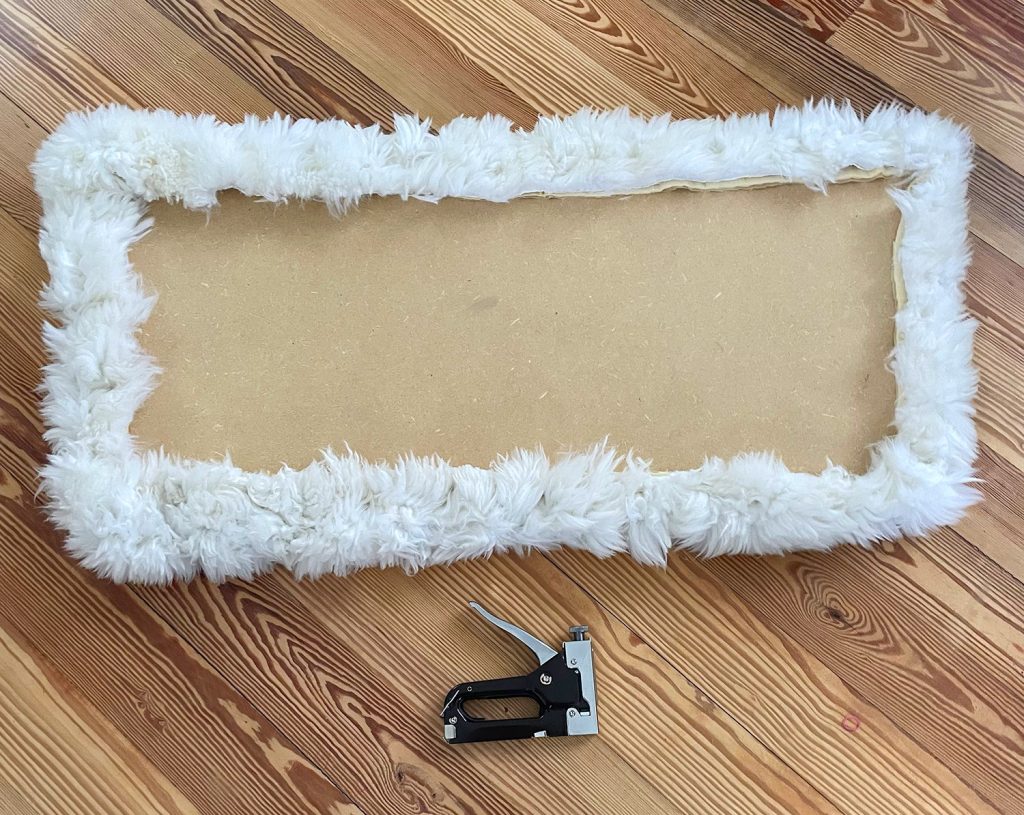
You can see the finished result in this photo below. It’s floofy enough since our faux sheepskin had a lot of density to it, but you definitely will want to add foam if you try something like this with MDF and fabric (it’ll feel very hard on your buns without the foam).
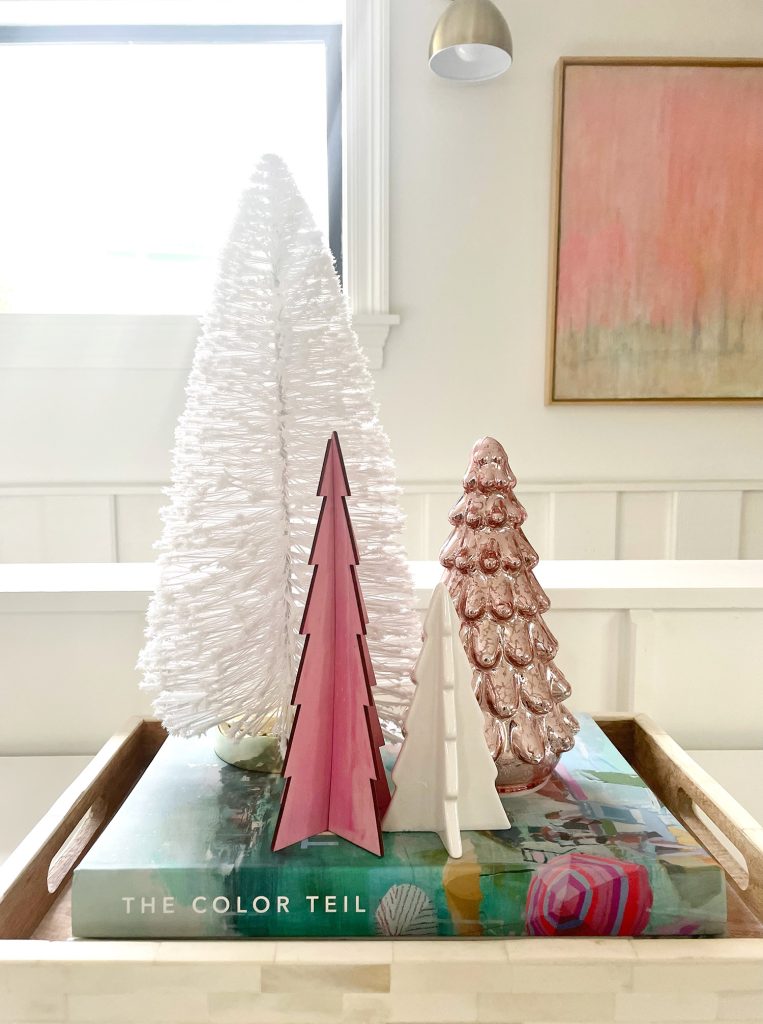
If you step back… more trees. Some are bottle brush, some are wood, some are ceramic, and some are mercury glass. I love these things and remember packing them within an inch of their life when we moved here because I never want anything to happen to them.
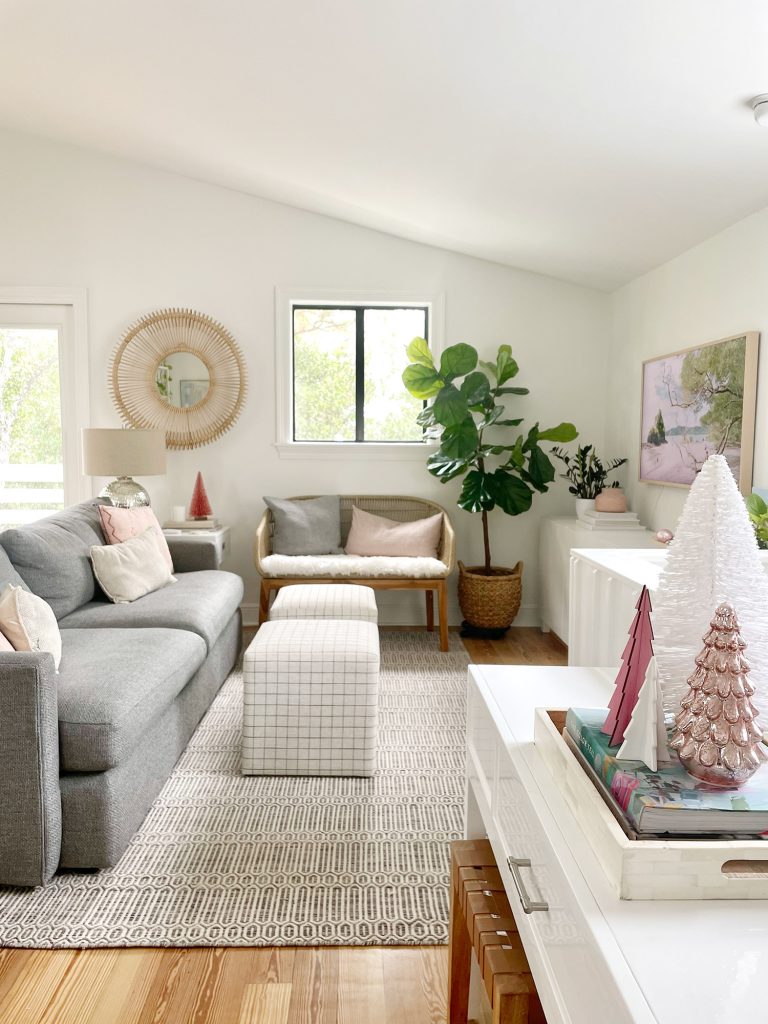
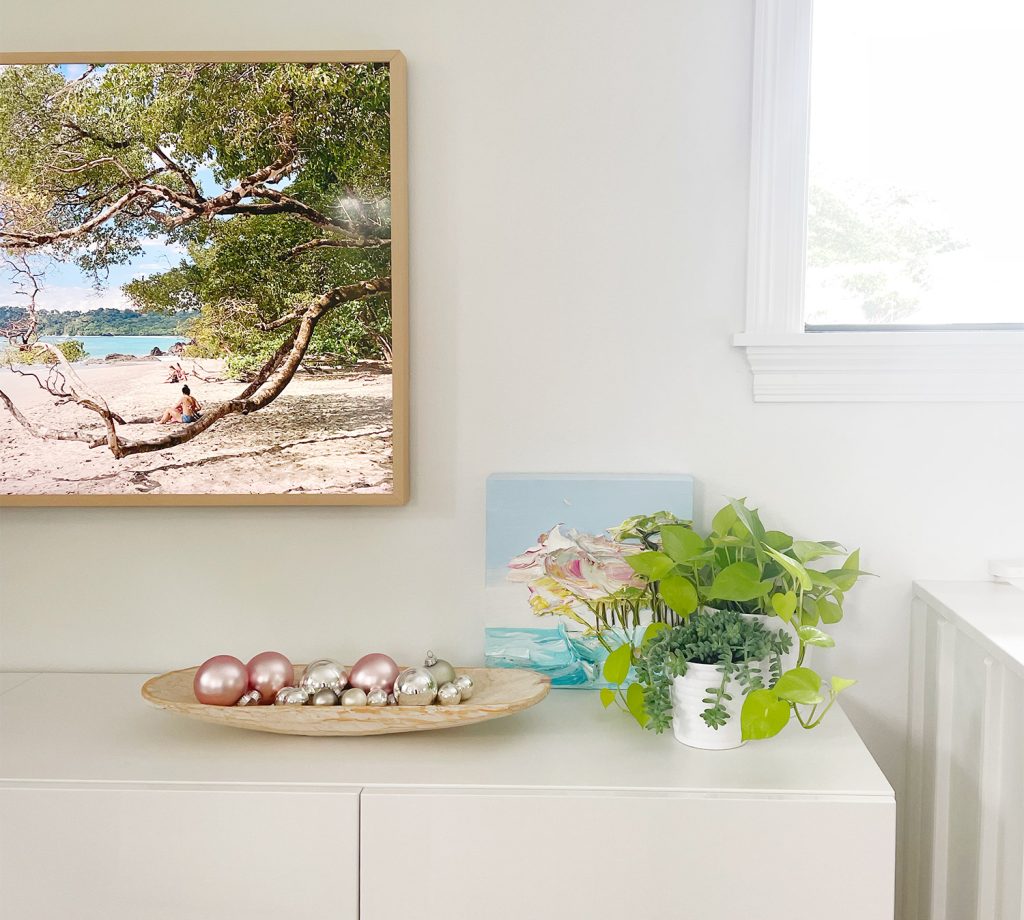
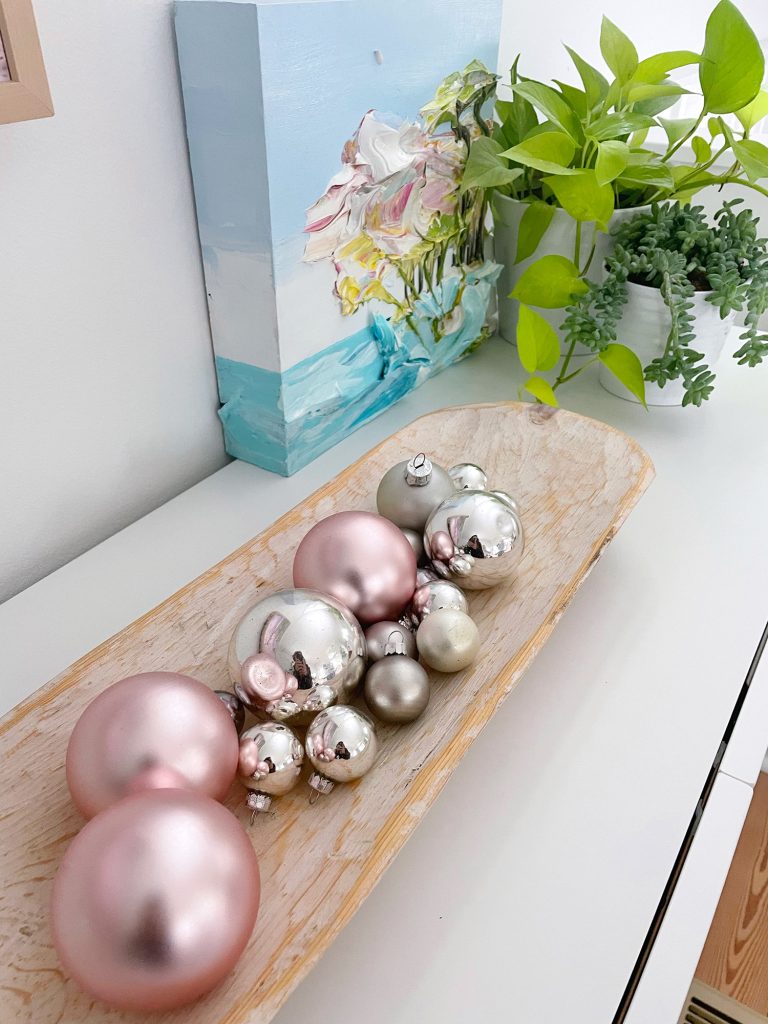
Over by the TV there’s a little dough bowl of shiny pink and silver ornaments for some added sparkle (here’s a similar whitewashed dough bowl).
Overall, it’s a subtle holiday effect. I went the opposite of over the top this year.
Fun fact: I store this dough ball with these ornaments in it just like this in the last wardrobe cabinet in our bedroom (along with all of our other holiday stuff – more on that here) so it’s just ready to set out every year. So easy, and in a closed cabinet it doesn’t even seem to get dusty. In Richmond I used to bag up the ornaments in a labeled plastic bag that said “dough bowl ornaments” but sometimes less is more. This works just fine.
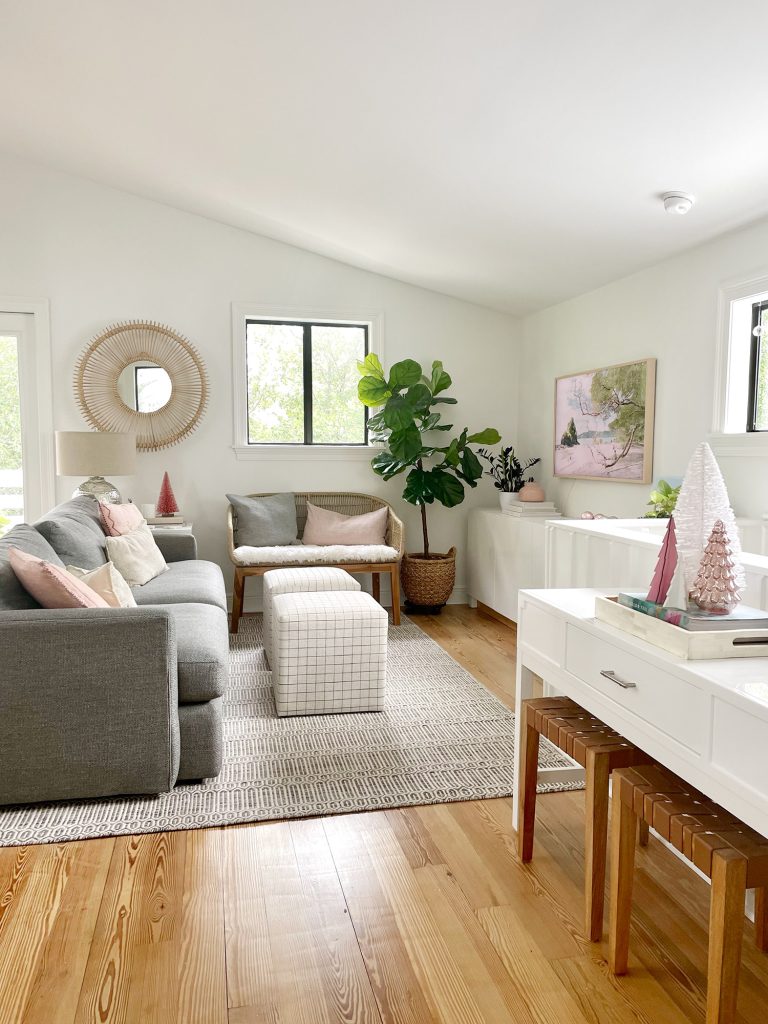
I love this angle with the pink painting and the brass sconce and Teil’s book mixed with these trees. I’m telling you, they’re small and cute but they make me so happy. I may have bought three new $3 ones from Target. They had pink glass and mercury glass ones in their dollar spot, which is now always $3 or $5 (the “dollar spot” name is wrong and needs to be updated…).
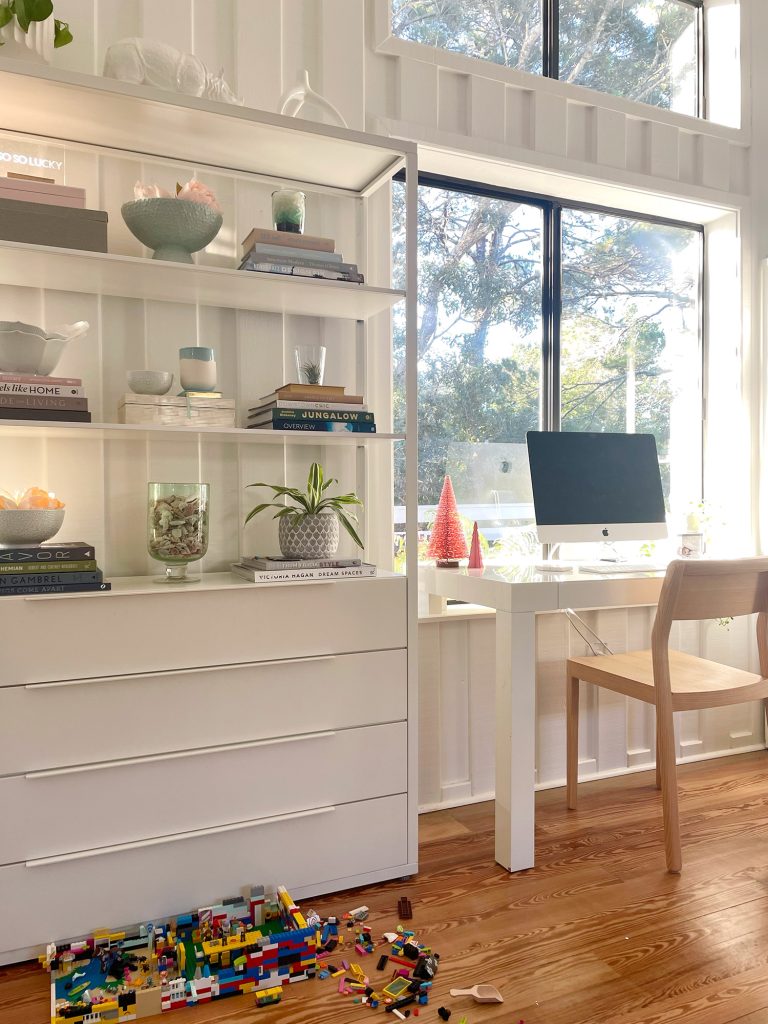
More trees ended up on our desk. Also, legos on the floor is real life, so please enjoy. The majority of these legos are from John’s childhood and his mom saved them all these years and now our kids play with them. I just love that.
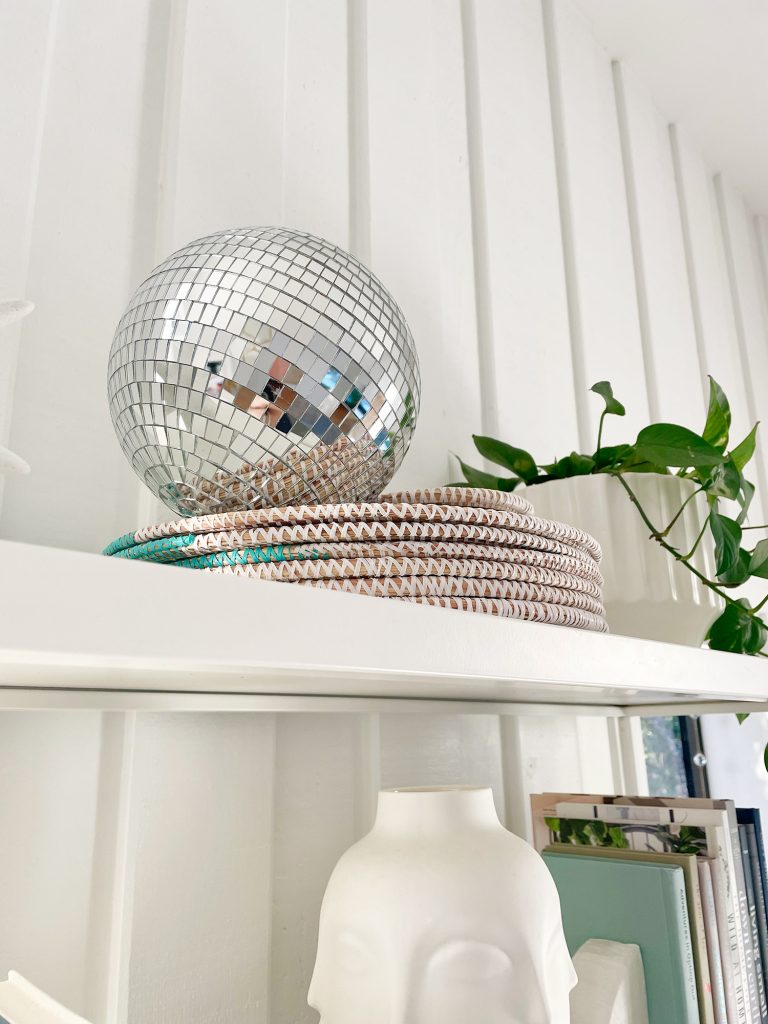
Also highly recommend a disco ball for year-round festivity. The reflections when the sun hits this one are so much fun.
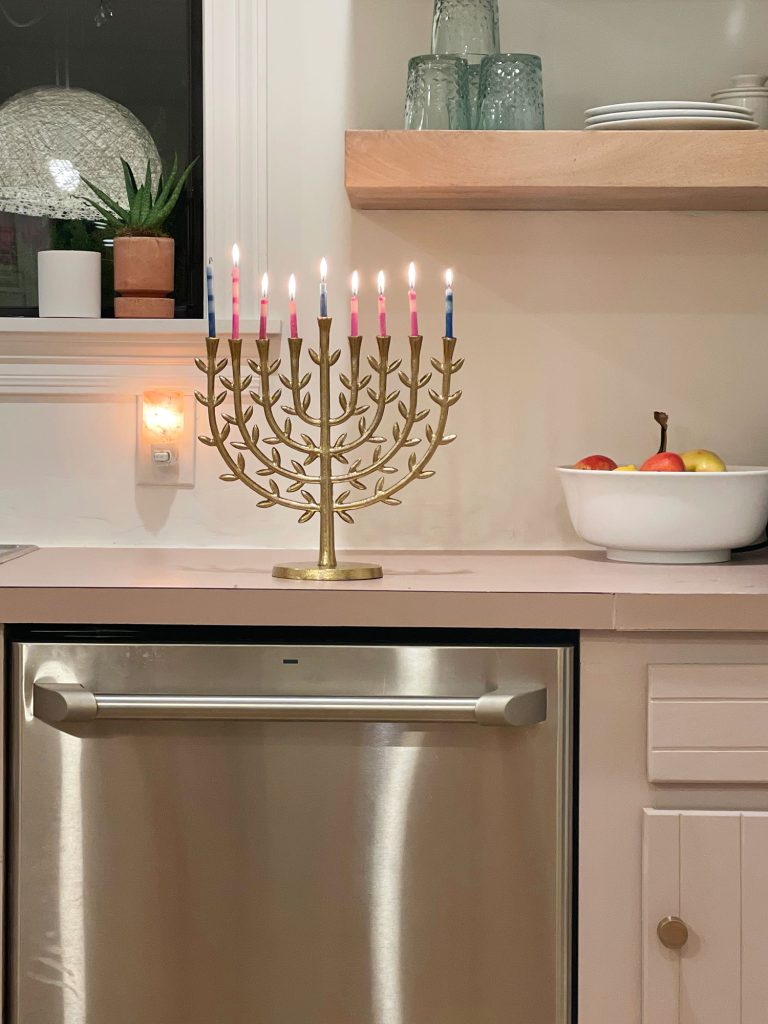
Oh and this year we finally added this beautiful menorah to our household. Growing up we always had one along with a Christmas tree (my mom is Catholic and my dad is Jewish) and I knew the kids would love growing up with a similar tradition. We all had fun lighting the lights and I shared some childhood memories of my grandma and grandpa’s Hannukah traditions. Also… please enjoy the smeared hand marks on the dishwasher that I left there, also in the name of “real life.” P.S. Doesn’t that banana stem emerging from the fruit bowl look like a clenched fist, as if the apple is like “I’ll never give up!”
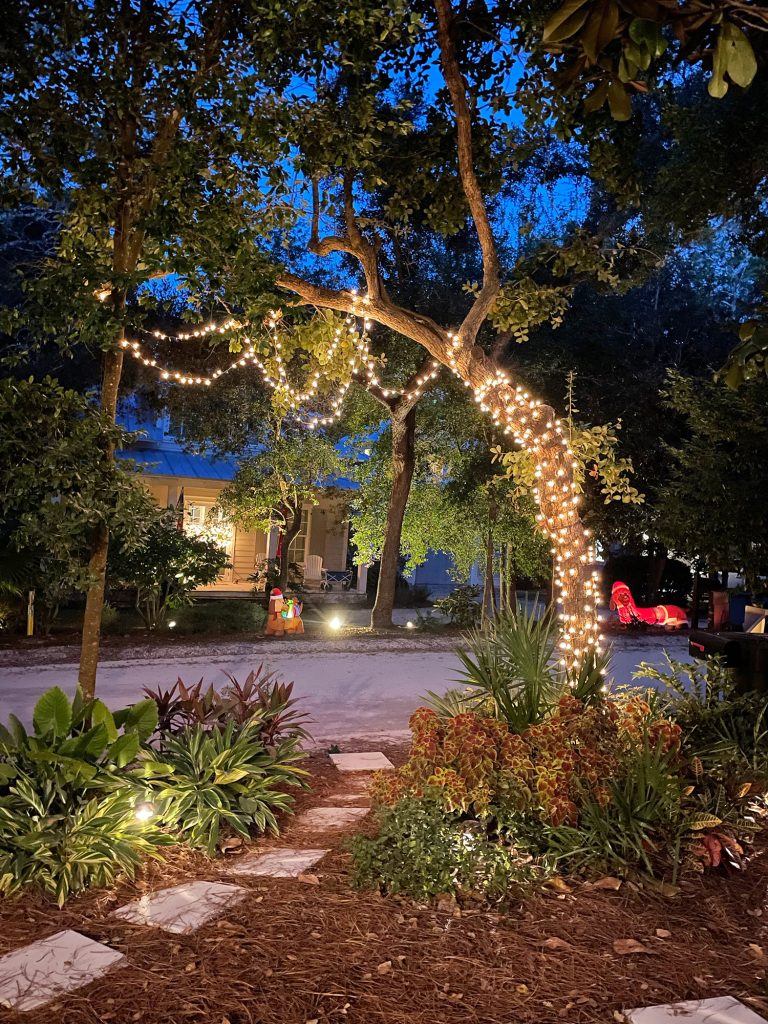
Oh and outside John had fun wrapping this tree with lights (these are similar warm white exterior lights). I love this so much I’m advocating that we leave it up year round. Its so glowy and beautiful at night, and we get to enjoy it from our front door and window when we’re eating dinner or hanging out in the sitting room in the evening.
Also please take a moment to appreciate the inflatable weiner dogs that live across the street at our neighbor’s house. We have the very best neighbors and their love of dachshunds knows no bounds (they even have a “Happy Halloweiner” inflatable that we get to enjoy every October). There are some other very festive houses nearby, so it’s definitely beginning to look a lot like Christmas – even at the beach when it’s 75 degrees.
*This post contains affiliate links, so we may earn a small commission when you make a purchase through links on our site at no additional cost to you.
