Back when we shared the final duplex kitchens last May (and a full budget breakdown in October), I promised some more details on the DIY floating shelves and – in particular – how we drilled through the tile backsplash to hang them securely. It took me way too long to share the shelf-building-tile-drilling details, but I’m finally laying it all out. Was it a little scary? Yes. But is it totally doable? Also yes. Let’s talk about it.
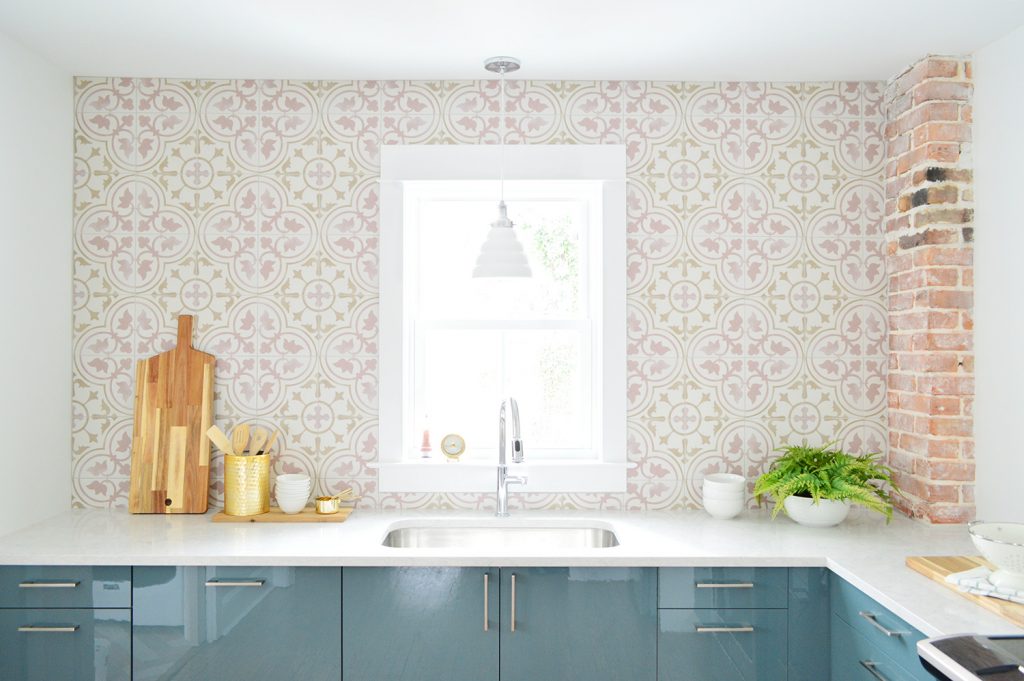
Let me first confess our mistake. Ideally, we would’ve hung our shelf supports before tiling. That would’ve made it easier to find studs and get a tight fit to the wall, not to mention saving us the worry of drilling into freshly laid tile. Buuuuuut Sherry and I weren’t seeing eye-to-eye about where to (or even *if* to) hang shelves in these kitchens. And since we were working up against a hard deadline for summer renters, we decided to plow ahead and revisit the discussion after the backsplashes were done. Which is why they looked like this when you first saw them.
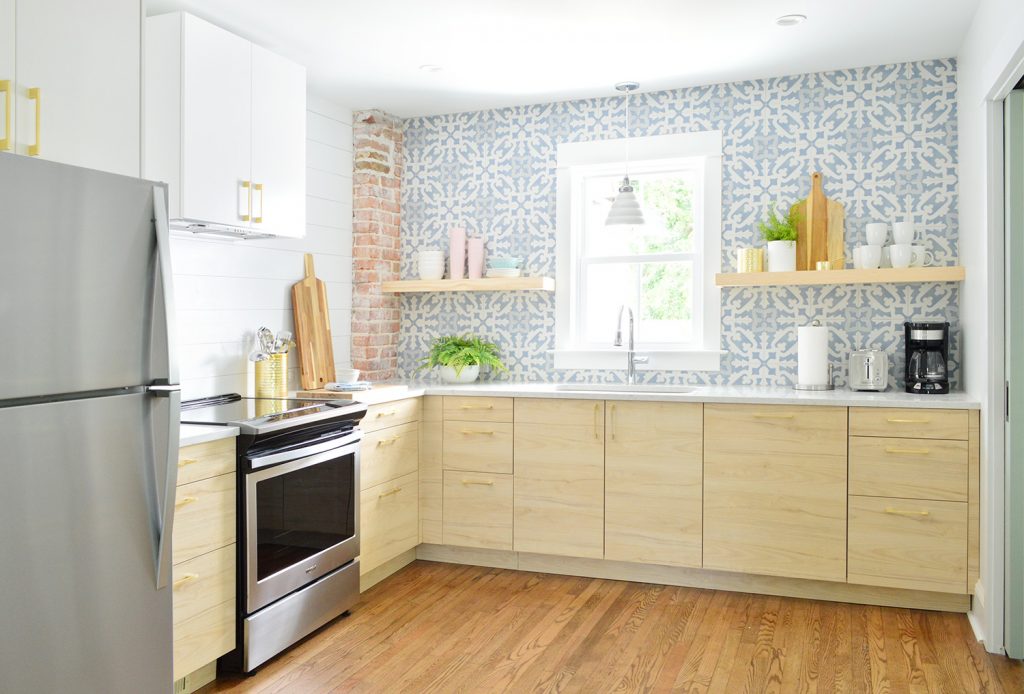
Luckily tiling resolved our stalemate (I won’t bother you with who was right… but let’s just that person is very handsome and very humble). We decided to install a chunkier version of these DIY floating shelves that we built for our bonus room. It felt good to have a plan, plus we now found ourselves in the position many of you might find yourself in: hanging shelves over an existing tile backsplash. And now you can learn from our experience to make it go as smoothly as possible for you. So here’s how we did it:
Locate Your Studs
Your shelves will be the strongest if you can secure them into studs. You can use certain anchors in tile too, but we knew we’d rest easiest if all of the plates, glasses, etc in these kitchens were being supported by the studs behinds the walls. Luckily, I had the foresight to find, measure, and record (aka email myself) the stud locations before tiling. Unluckily, this foresight struck me only AFTER finishing the first backsplash. And I had no luck getting my stud finder to work through the tile. Derp.
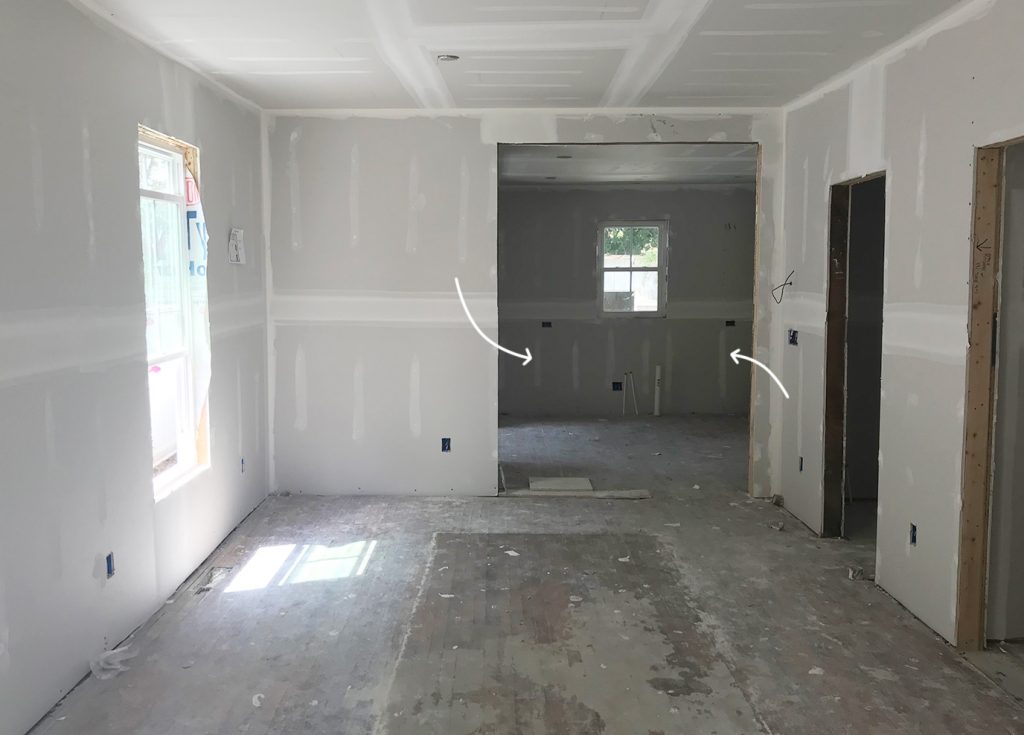
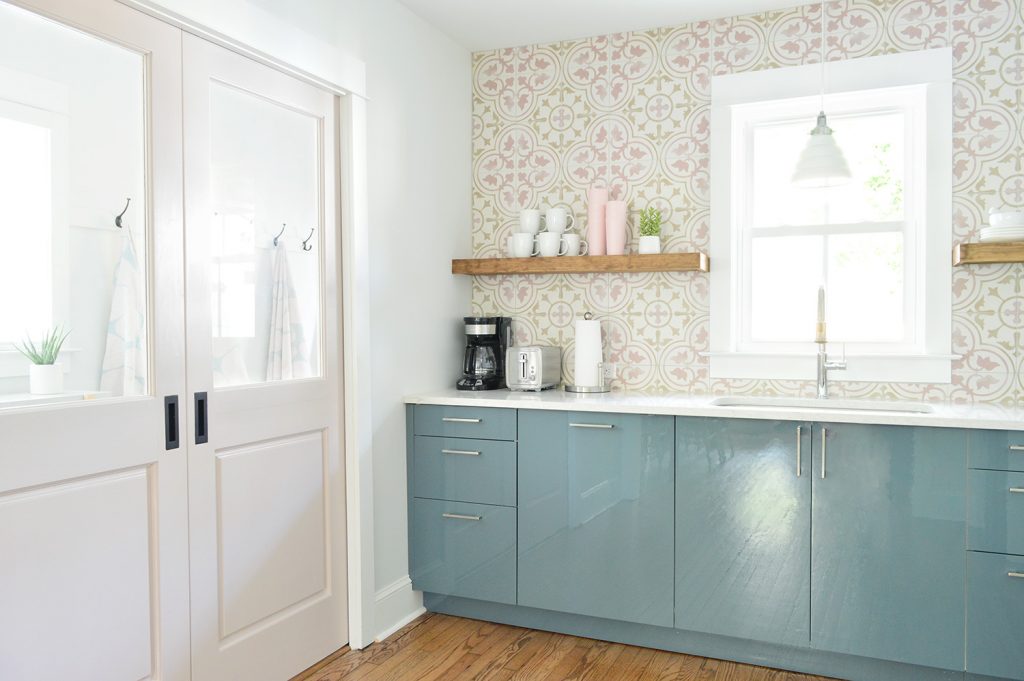
So to find those studs I relied on some basic knowledge of construction and some (dare I say brilliant?) detective work – much like you might have to do. For one, I knew that you’ll often hit a stud close to your corners and window/door frames. This isn’t the kitchen shown below (it’s the adjacent laundry room), but you can see how many studs there are around the window and in some of the corners.
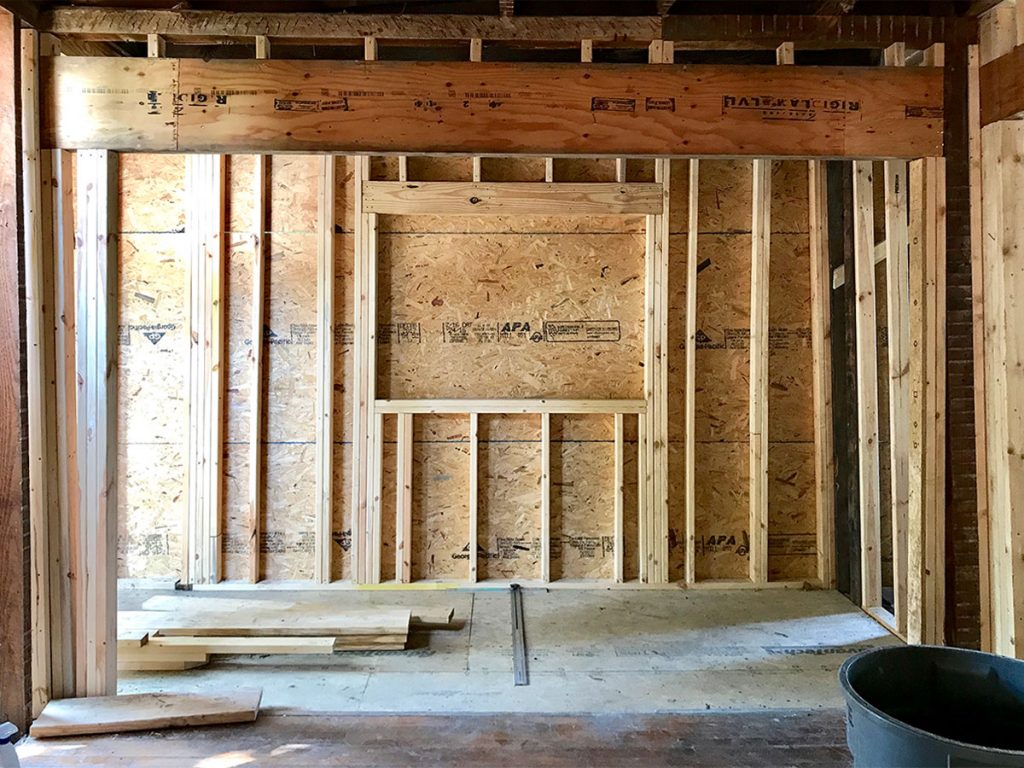
Those studs would help me secure the floating shelves on either end, but what about the middle? Well, that’s where pictures like this came in handy…
Yep, I literally dug up old duplex progress photos on my phone to try to spot the studs. From this particular picture I could identify the stud locations from the stripes of dried drywall mud (since you always mud over the screws that hold the drywall to the studs). I had already guessed there’d be studs near the wall outlets (since they typically nail those to the side of a stud) but this photo confirmed which side of the outlet we needed to drill into.
I know not everyone has photos like this, but facts like “studs are usually near outlets, windows, and corners” – or looking where other objects are screwed in (like your cabinets – throw open the doors and see where they screwed the backs into the wall studs!) can all help you zero in on the studs hiding behind your tile. Or you may get lucky and your stud finder may work better with your particular tile (it often depends on the thickness of your tile).
Mark Your Drilling Locations
Drilling through tile isn’t a fast process, so take your time up front to be confident and accurate with where you need your holes. This means not just your stud locations, but also making sure you’re happy with your shelf height, making sure things are level, etc. Our process involves a lot of flattering poses like this one, which Sherry calls the “John-I-Need-You-To-Duck-So-I-Can-See-What-I’m-Looking-At.”
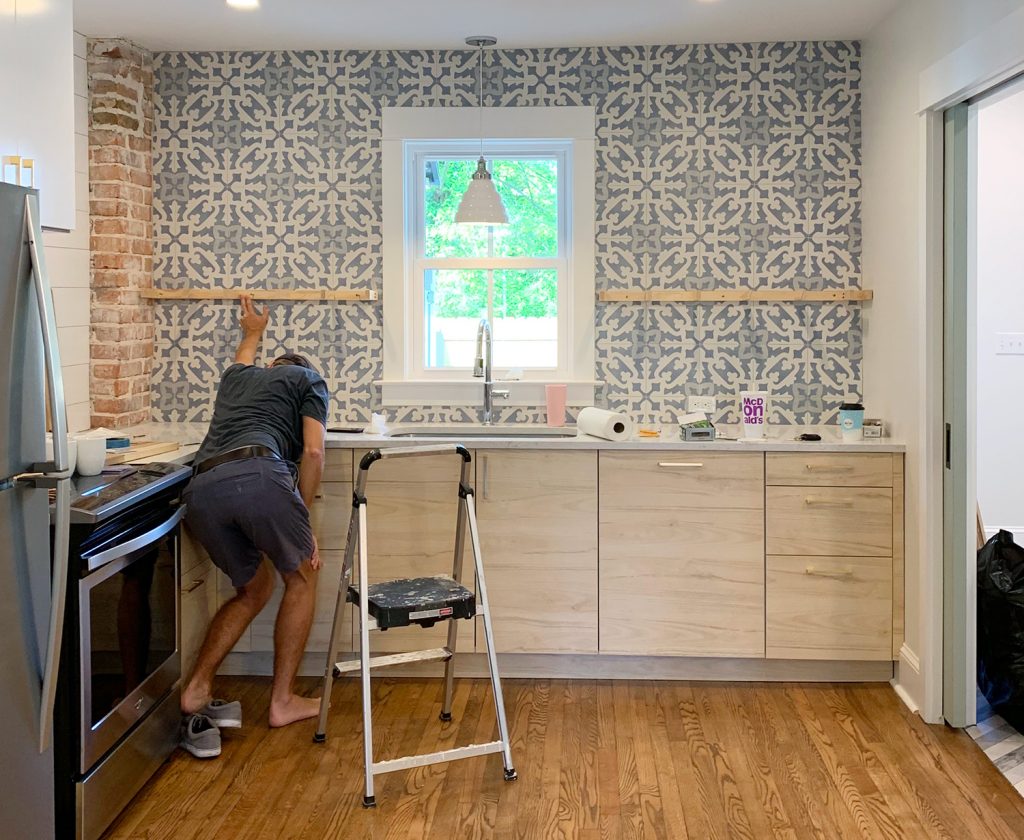
NOTE: If you want more details on these wooden brackets you see here, check out the steps in this floating shelf tutorial.
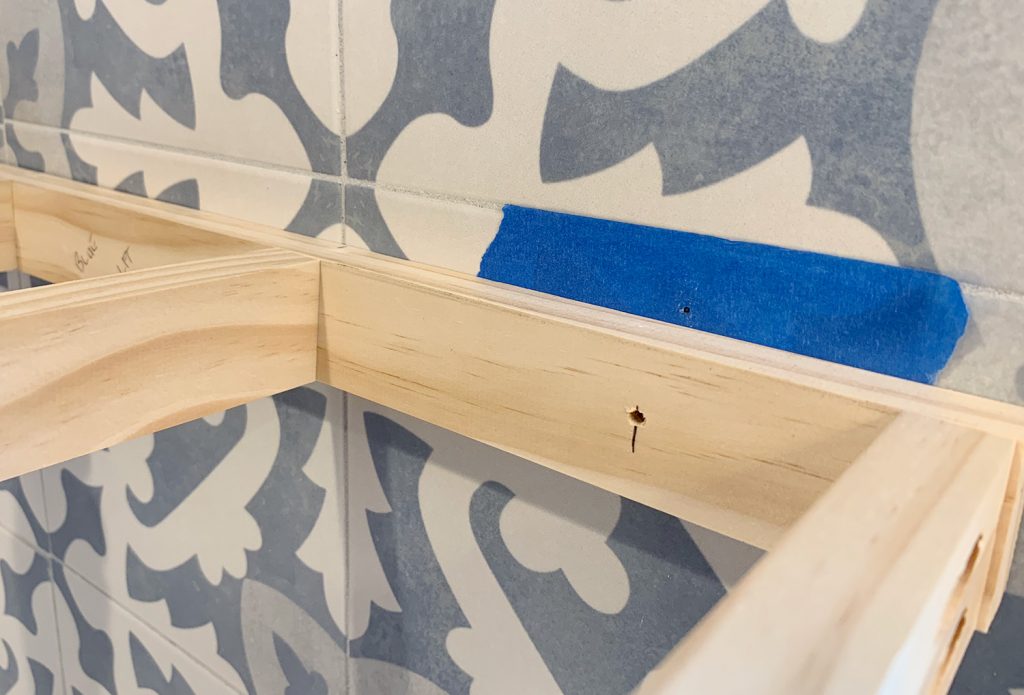
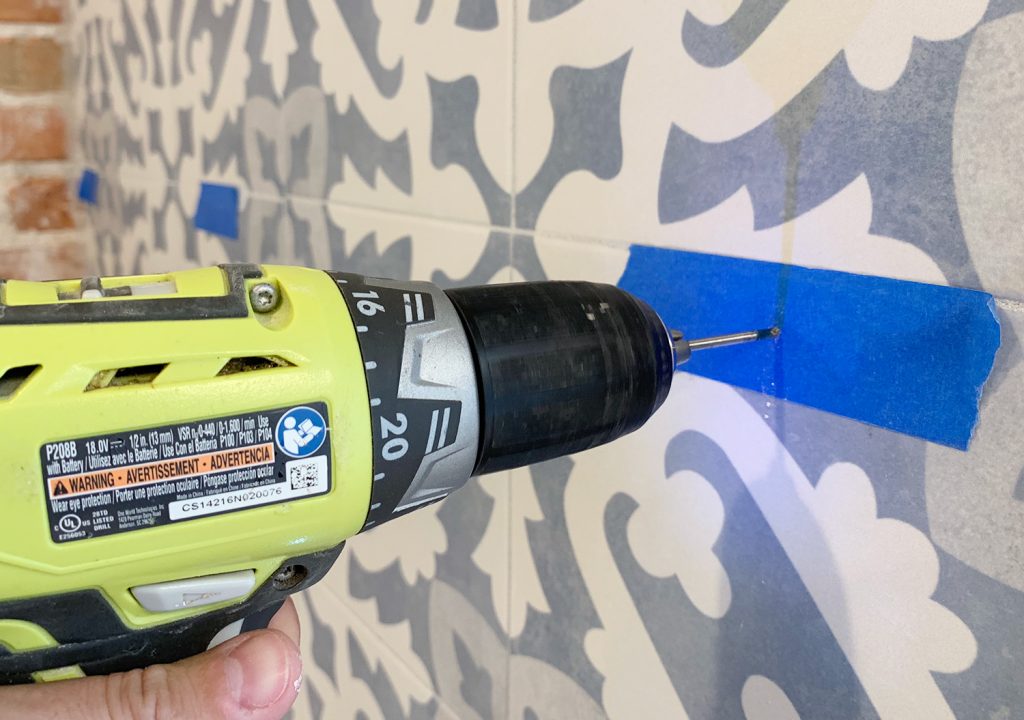
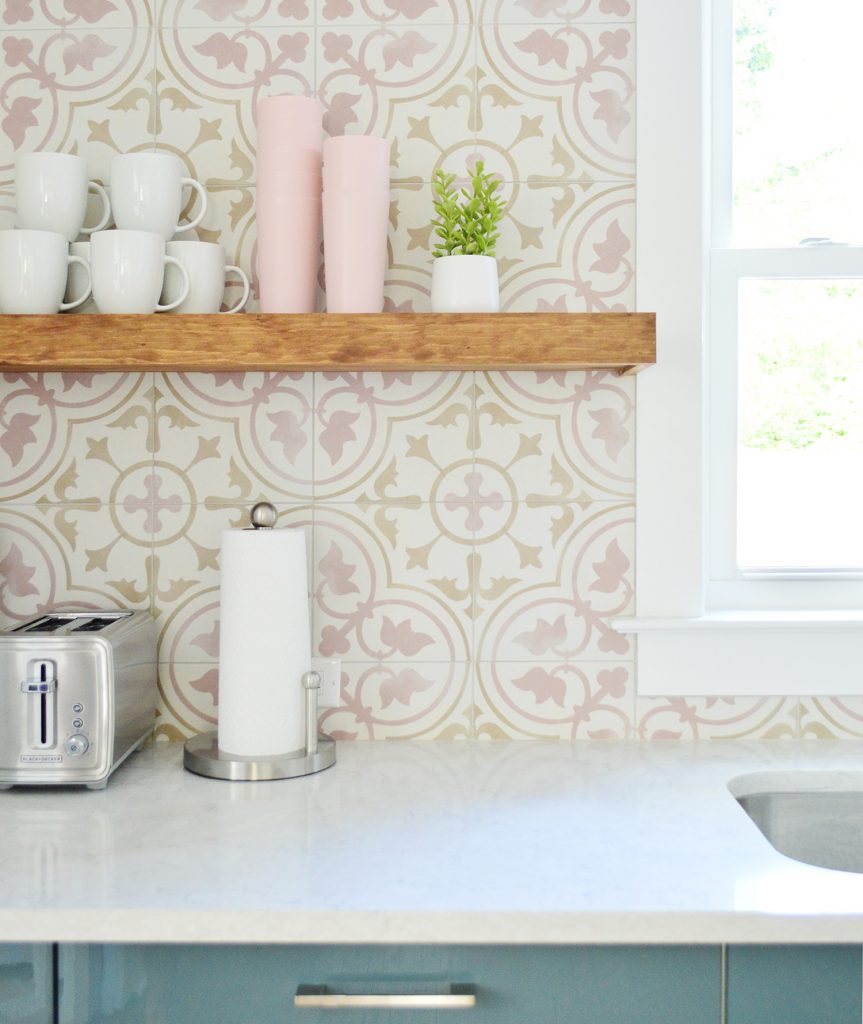
We had already marked the stud locations with blue painters tape, so once we were happy with the height/level of the brackets (they’re about 18″ above the counter) I SLOWLY drilled through the wood using a small regular drill bit until I barely touched the tile.

This left just enough of a mark on the tape that I could put the bracket back down for a while and drill a pilot hole right into the tile without the wood being in the way.
Oh, and forgive the photos jumping between the pink and blue backsplashes. We documented different steps on different sides. That’s just part of the fun of getting to do (having to do?) this twice over.
Drill, Drill, Drill… But With Caution
Now you know where to make your holes in the tile, but how do you do it? Well, first you’ll want to get the right bit for the job. Our tiles are porcelain, so this diamond drill bit kit was the only thing we found at the store with porcelain specifically listed on it. I was skeptical of the whole contraption so I picked up these carbide glass & tile bits too. I ended up using a combination of both so I’m glad I grabbed them all.
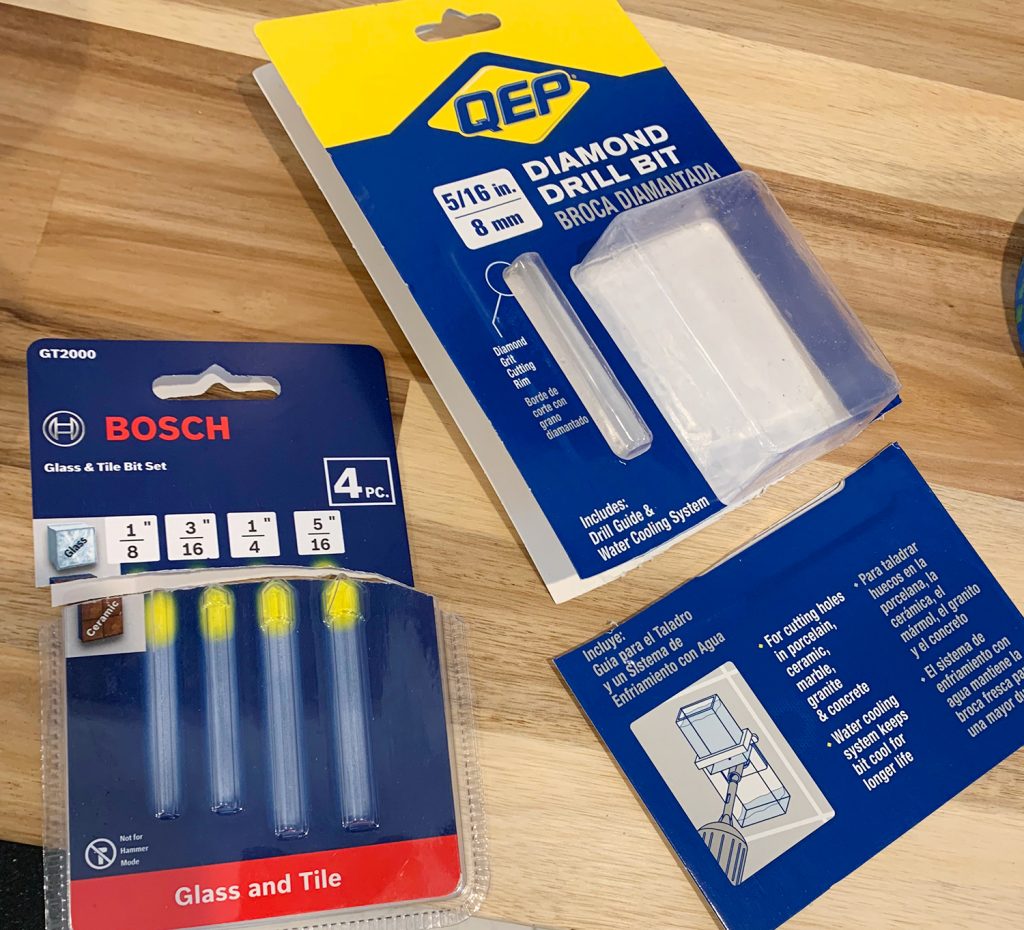
Before taking any of them to our pretty tiled wall, we tested them on a spare tile first. They both worked just fine (nothing cracked – woot!) so it was a nice reassurance before continuing. I highly recommend it.
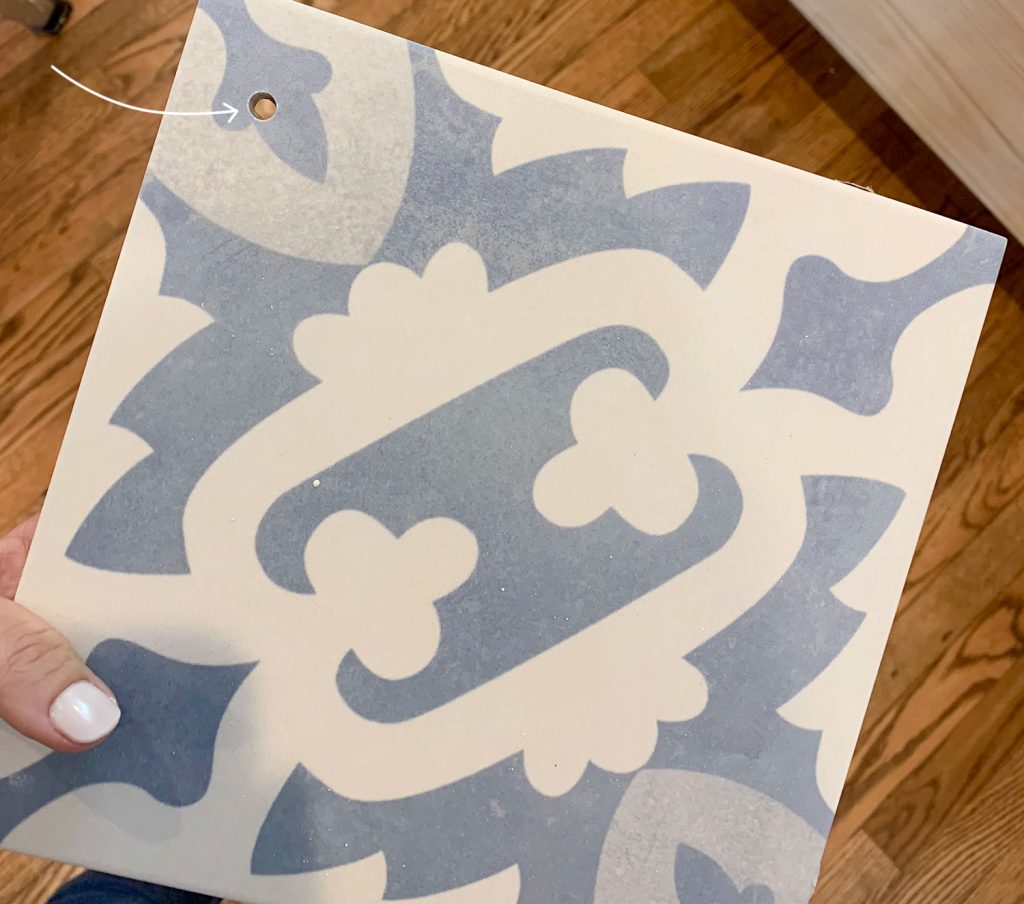
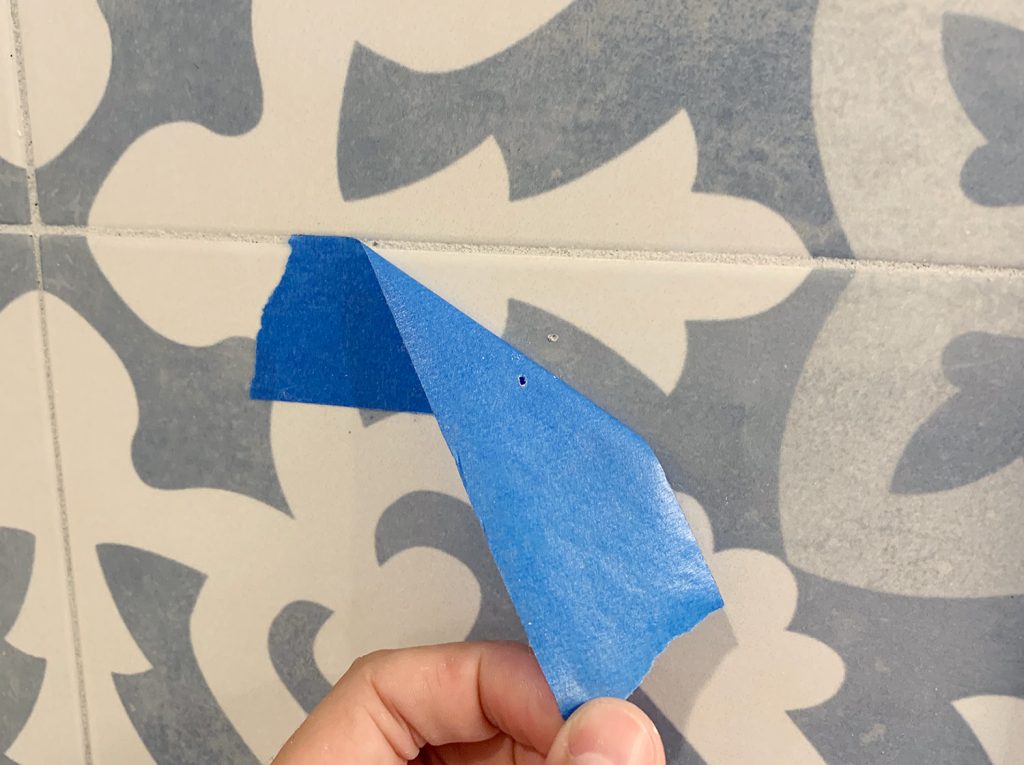
Next, I wanted to make my tape marks a bit more permanent so I could remove the tape. So used the smallest carbide bit to drill a small dent at each of my pen marks.
I’m not kidding when I say I was just aiming for a small dent.
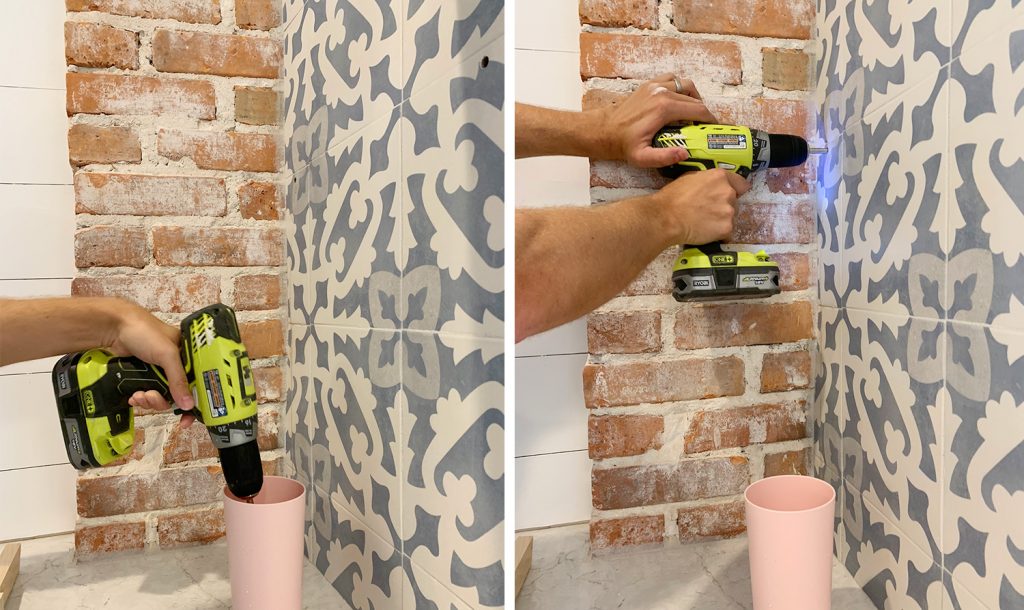
With my mark made, I could turn to this diamond drill bit contraption. I keep calling it a “contraption” because well… I’ll say this: it had good intentions. The idea is that you stick these nested boxes over your tile and drill through them. The water from the clear box on top is supposed to slowly drip through the hole and over the diamond bit as you drill (keeping it cool) and then collect in the bottom box.
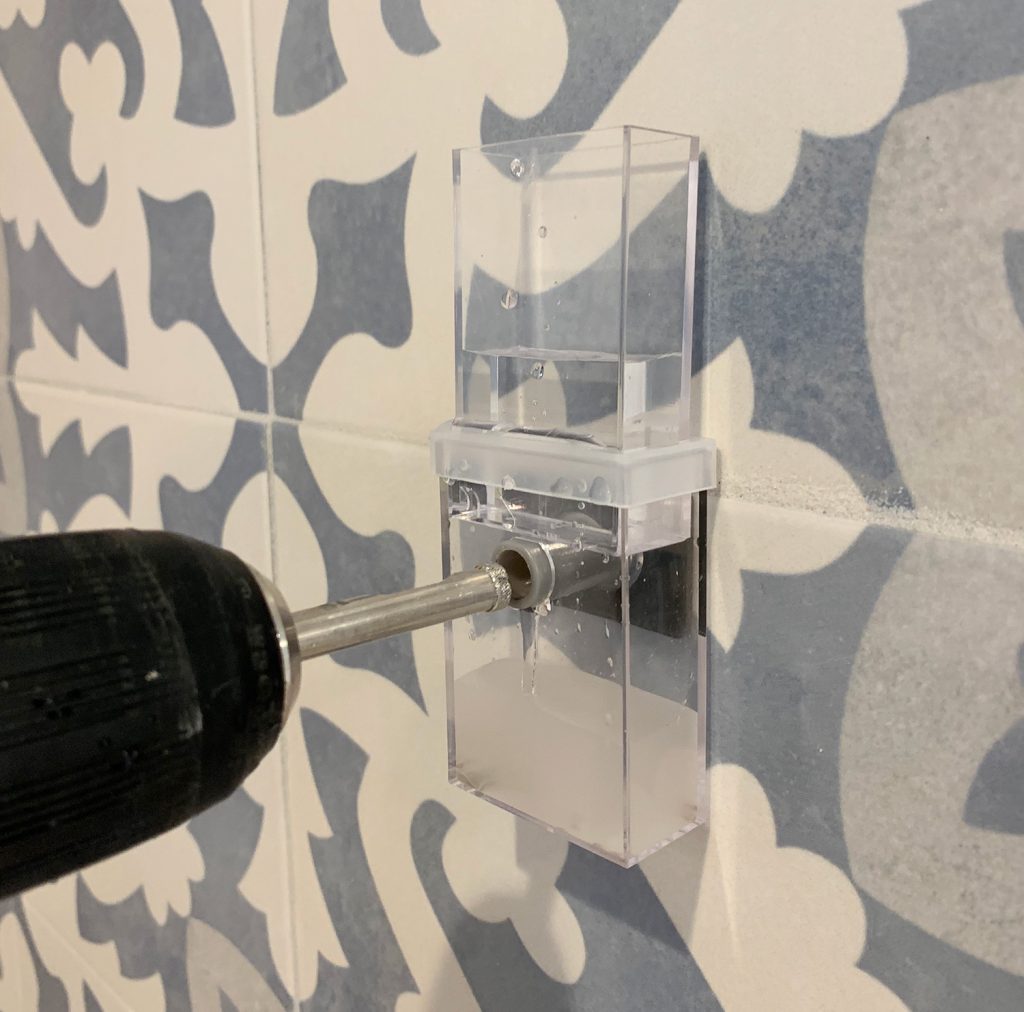
Maybe I did it wrong (although the reviews tell me it’s not an isolated issue) but the water drained almost instantly to the lower box, so the promise of a “slow cooling drip” was a bust. BUT – I still appreciated that the box acted as a steady guide to keep my drill bit in the exact same place as my “tiny dent” starting hole. So once I’d gotten a good start, I removed the box contraption and continued without it.
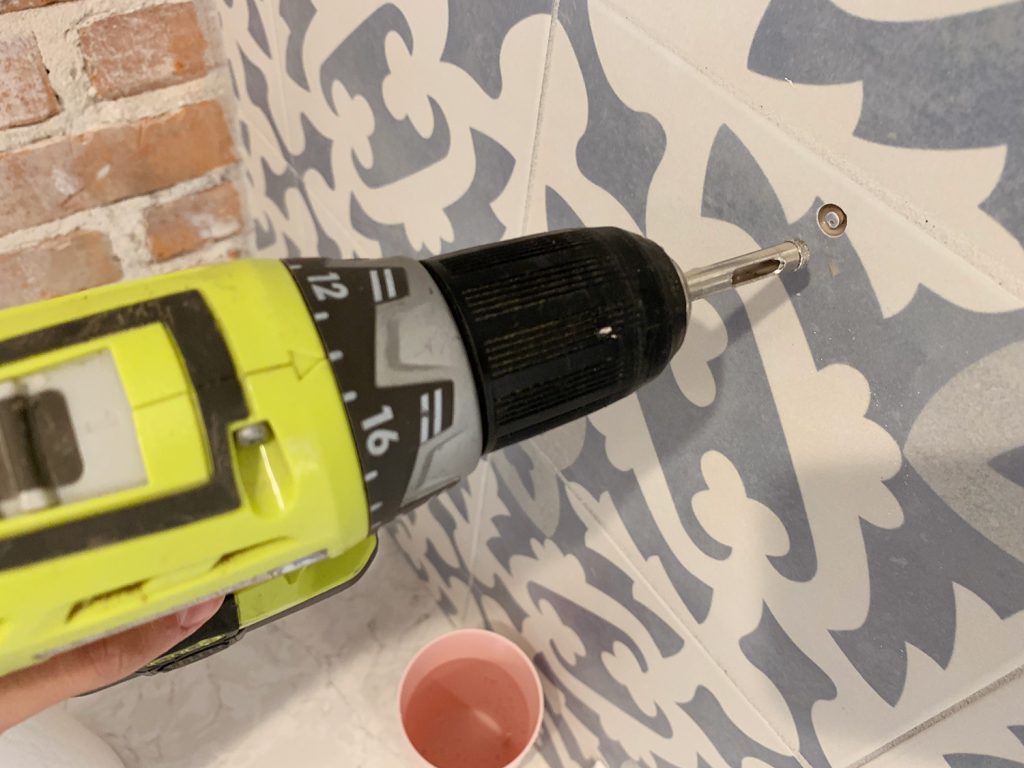
The cup seen below was my own version of “cooling the bit,” since I just took breaks every 15-20 seconds to dip the end of my drill into cold water. This kept the bit from burning out and also helped control tile dust while I drilled.
The process was slow-going (it probably took me 5-7 minutes per hole) because I never wanted to exert too much pressure or overwork my bits. I think all-in-all we spent about 90 minutes just drilling holes. So if you take nothing else away from this post it’s BE PATIENT. Better to use your time being careful drilling than to have to replace a broken tile.
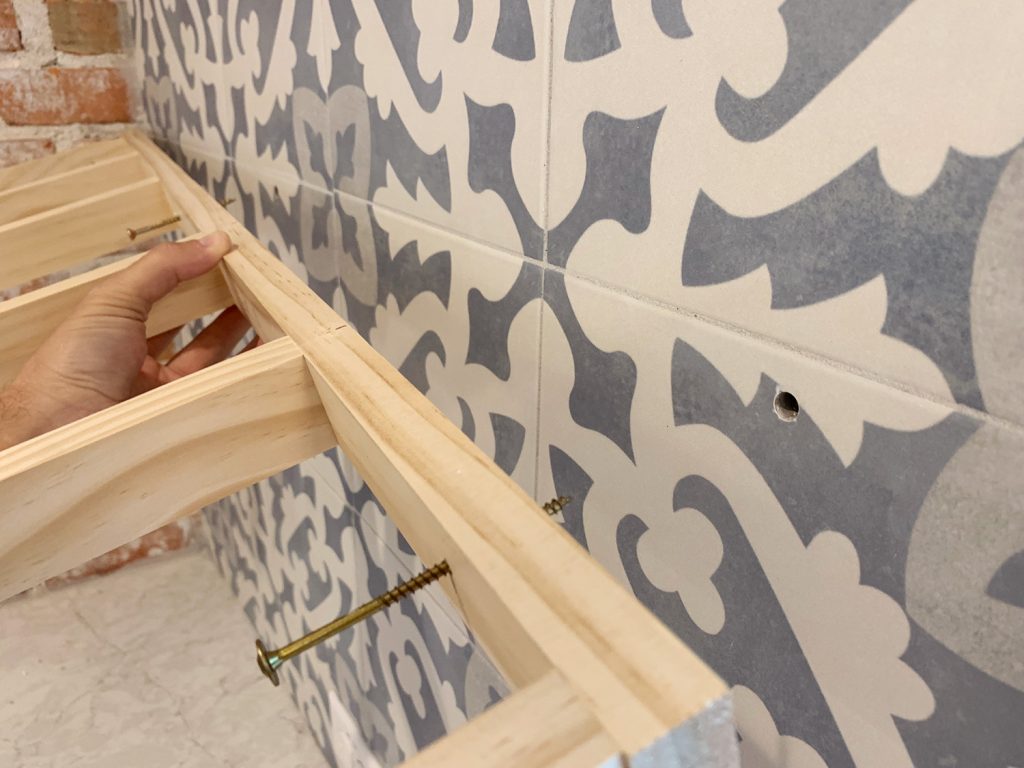
Once the holes were made, things moved quickly from there. I pre-drilled some heavy duty screws partway through our brackets first, which made aligning them into the holes easier. And then with a level on top of the bracket, I screwed them tightly into the studs.
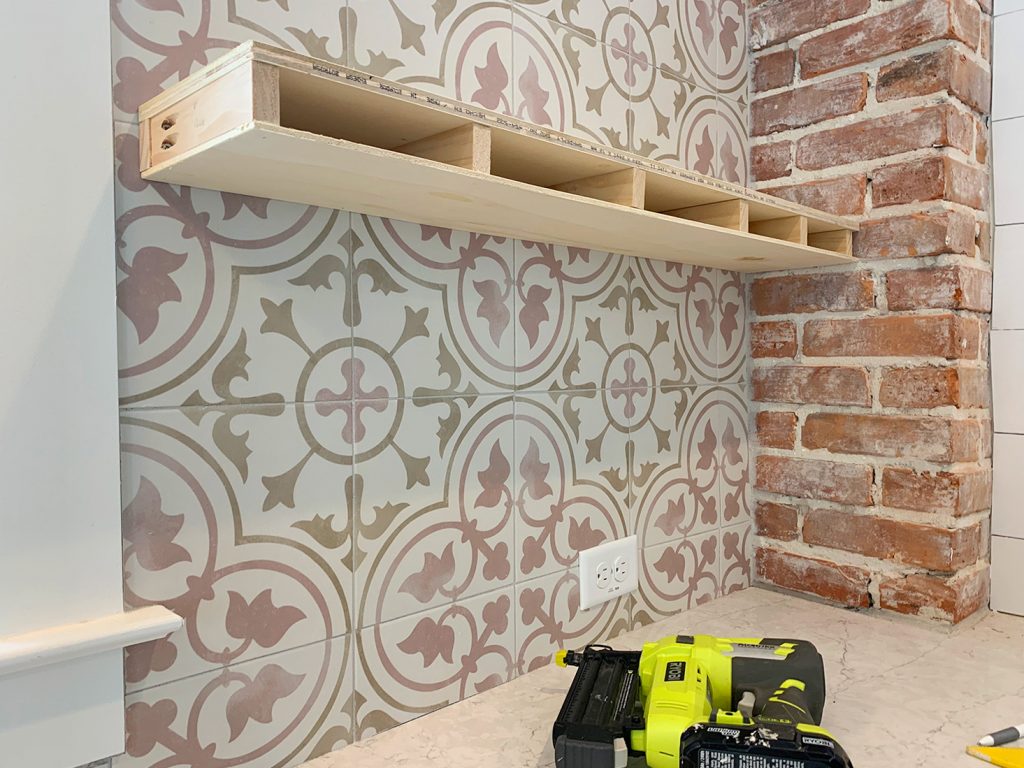
From there we just continued building the shelves like we explained in this floating shelf tutorial. The only difference is that we made thicker shelves this time because we knew they’d better support heavy items like dishes and glassware. So I won’t belabor the steps here (again, check out that post for more details) – but we basically glued/nailed a piece of 1/2 plywood to the top of each bracket…

…then did the same with a 1/4″ piece of plywood on the bottom. The bottom plywood can be thinner because it won’t have to support any weight.
Then we cut 1×3″ face pieces to cover the raw edges of everything. They were a smidge thicker than the bracket + plywood, so we could’ve shaved them down a bit to get things perfectly aligned. But we found last time that no one really sees or notices the tiny lip on the underside of the shelf, so it didn’t seem worth the trouble or time.
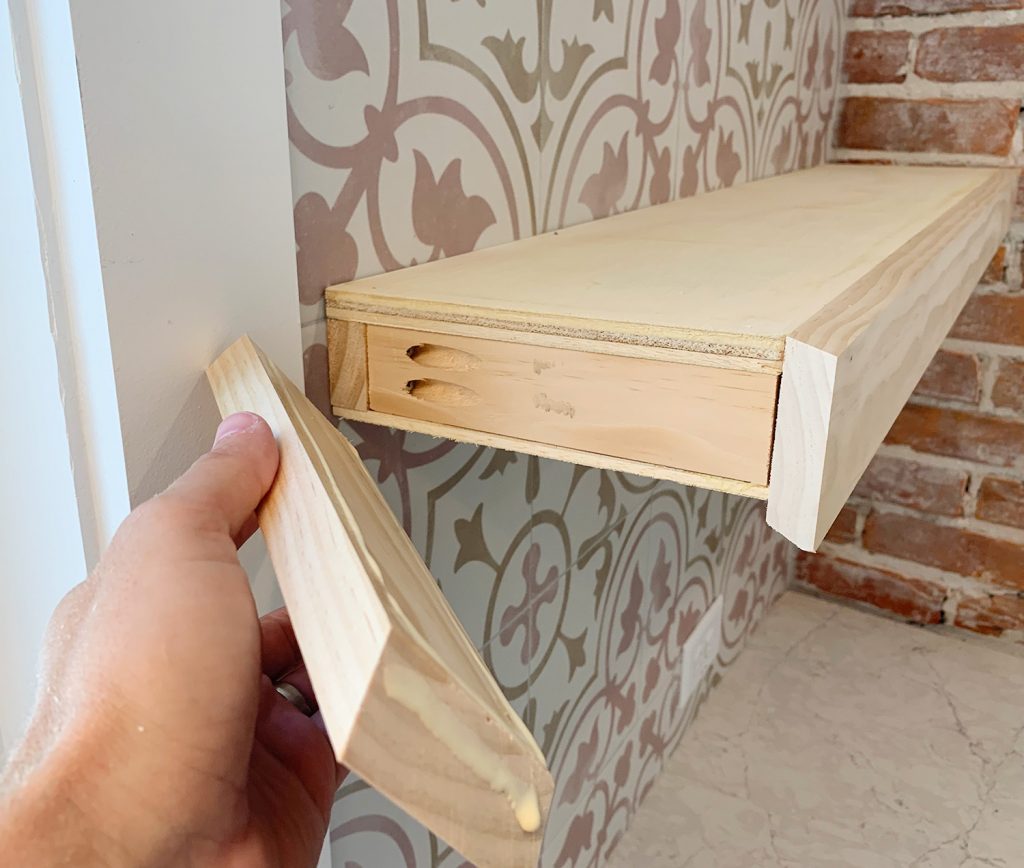
You can see in this picture below that it’s a small lip around the underside but it looks clean and intentional, so we just went with it.
Once everything dried we stained this side dark to match the floors (called Special Walnut) and then sealed them with a water-based polyurethane.
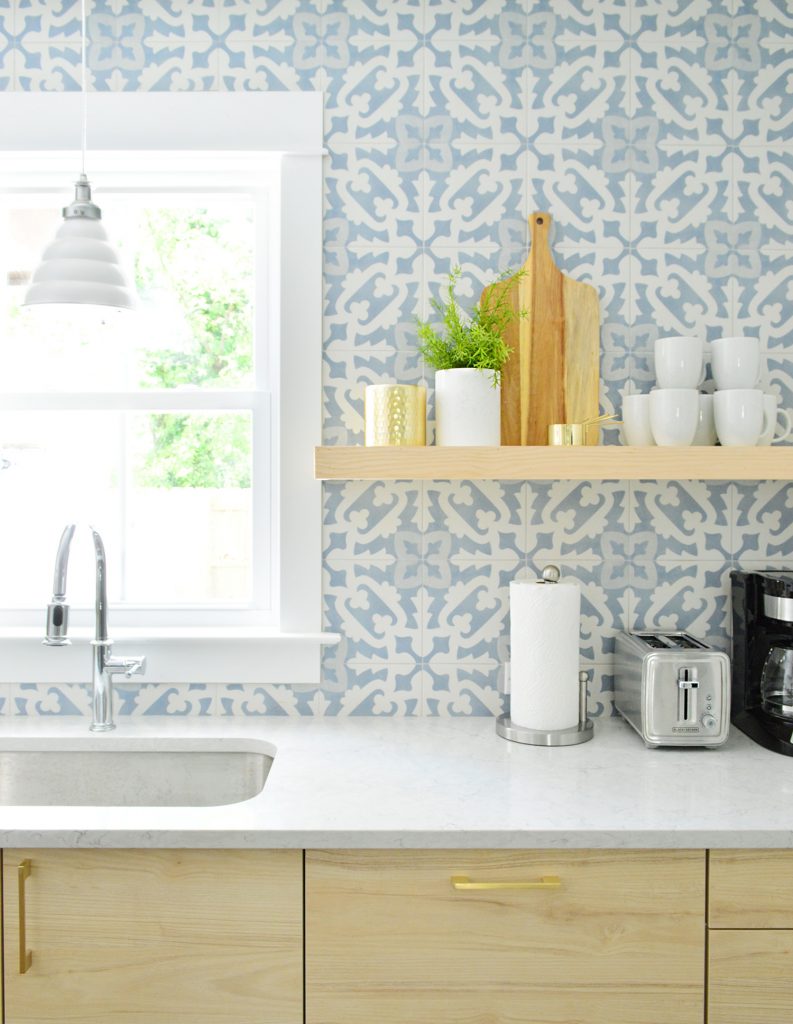
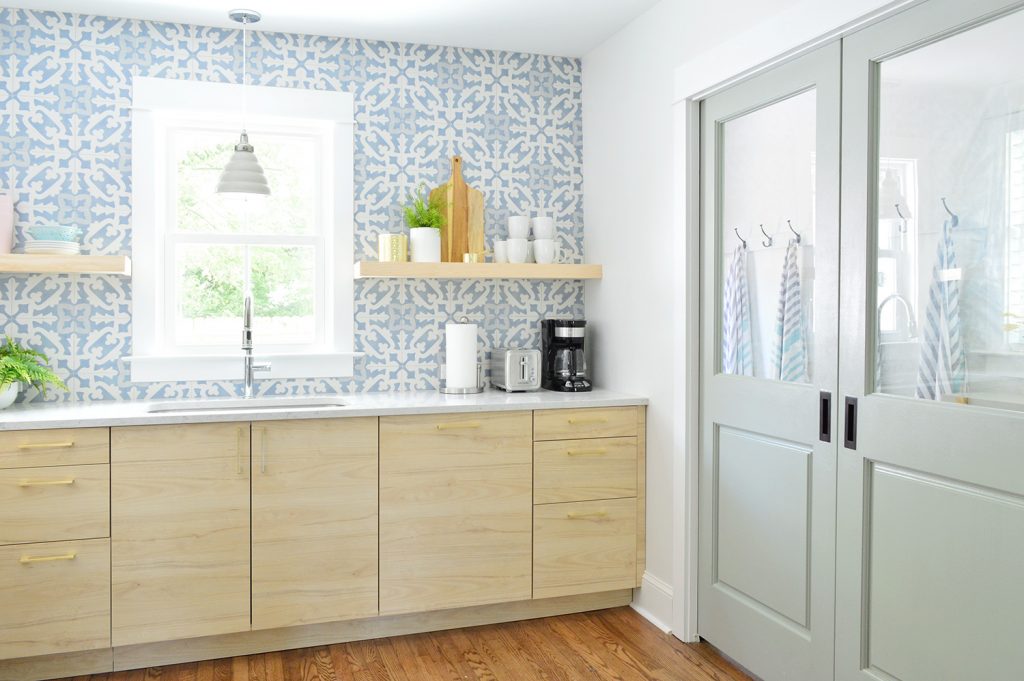
On the other side we just sealed them (no stain) because we liked how similar in color the raw wood was to the stock Ikea cabinets.
Oh, and we did wood putty and sand the nail holes too.
So if you’re looking to add some sort of shelving to your kitchen and, like us, you’ve got some pesky tile in your way – hopefully this gives you the confidence to give it a go. You can do it – just take it slow. And be sure to snap some highly unflattering photos as you hunch down while holding up a shelf or two.
P.S. To read how we pulled these kitchens together, here’s a post with a full reveal, and here’s one about adding the horizontal planking on the stove wall (it was a great $31 upgrade). There’s also a full budget breakdown for these two kitchens – and if you haven’t heard our big duplex news you can listen to it here or read it here.
*This post contains affiliate links, so we may earn a small commission when you make a purchase through links on our site at no additional cost to you.
